Customize your Notebook
First of all you have to purchase Pro or Business subscription because it is premium service. You can buy your subscription right here: https://runmercury.com/pricing/ (opens in a new tab).
If you don't have your site yet, check this article and create it.
1. Open customization panel
Sign in on your MercuryCloud account right here: https://cloud.runmercury.com/login/ (opens in a new tab).
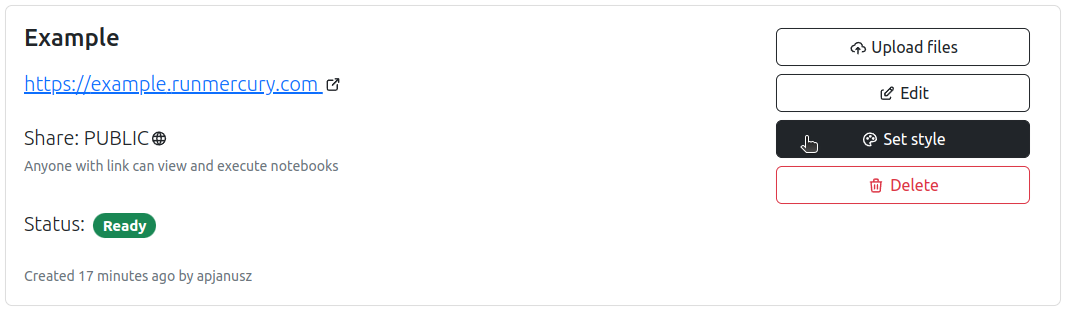
Then choose site which you want to customize and open customization panel by clicking Set style button.
2. Customize your Site
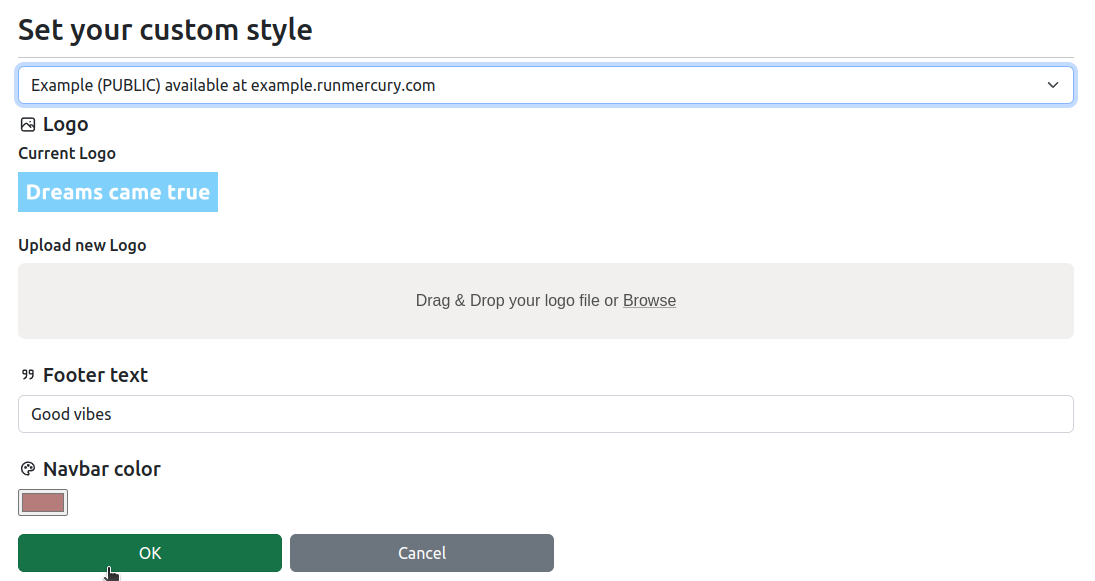
If you open costomize panel corectly it should look like this:
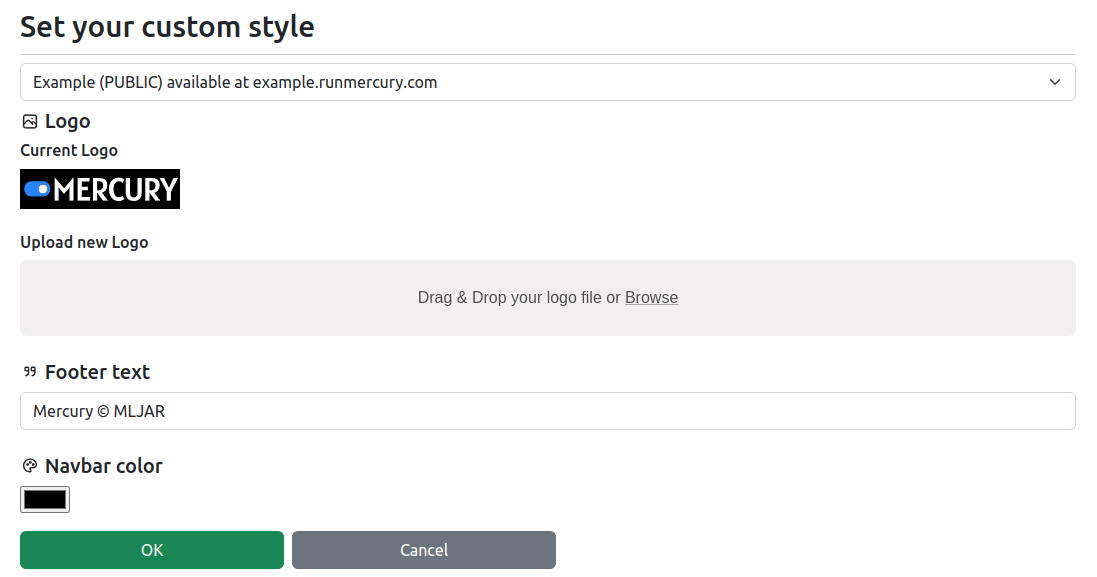
2.1. Logo
You can set your own logo by uploading file from your computer. PNG and JPG will be best types for this.
Preferred height of logo is 40px.
Every change will be visible on logo preview named Current Logo.
2.2. Footer text
You can type any characters you want right below Footer text line.

2.3. Navbar color
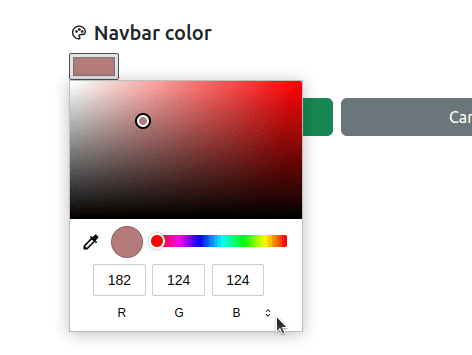
You can set color of your navbar by taking a sample from your screen or by using color palette. Moreover, typing colors using RGB, HSL or HEX (switch by click) also works.
Confirm changes
To save all introduced changes you have to commit them.
Now click the OK button.
3. Results of customization
Default Style
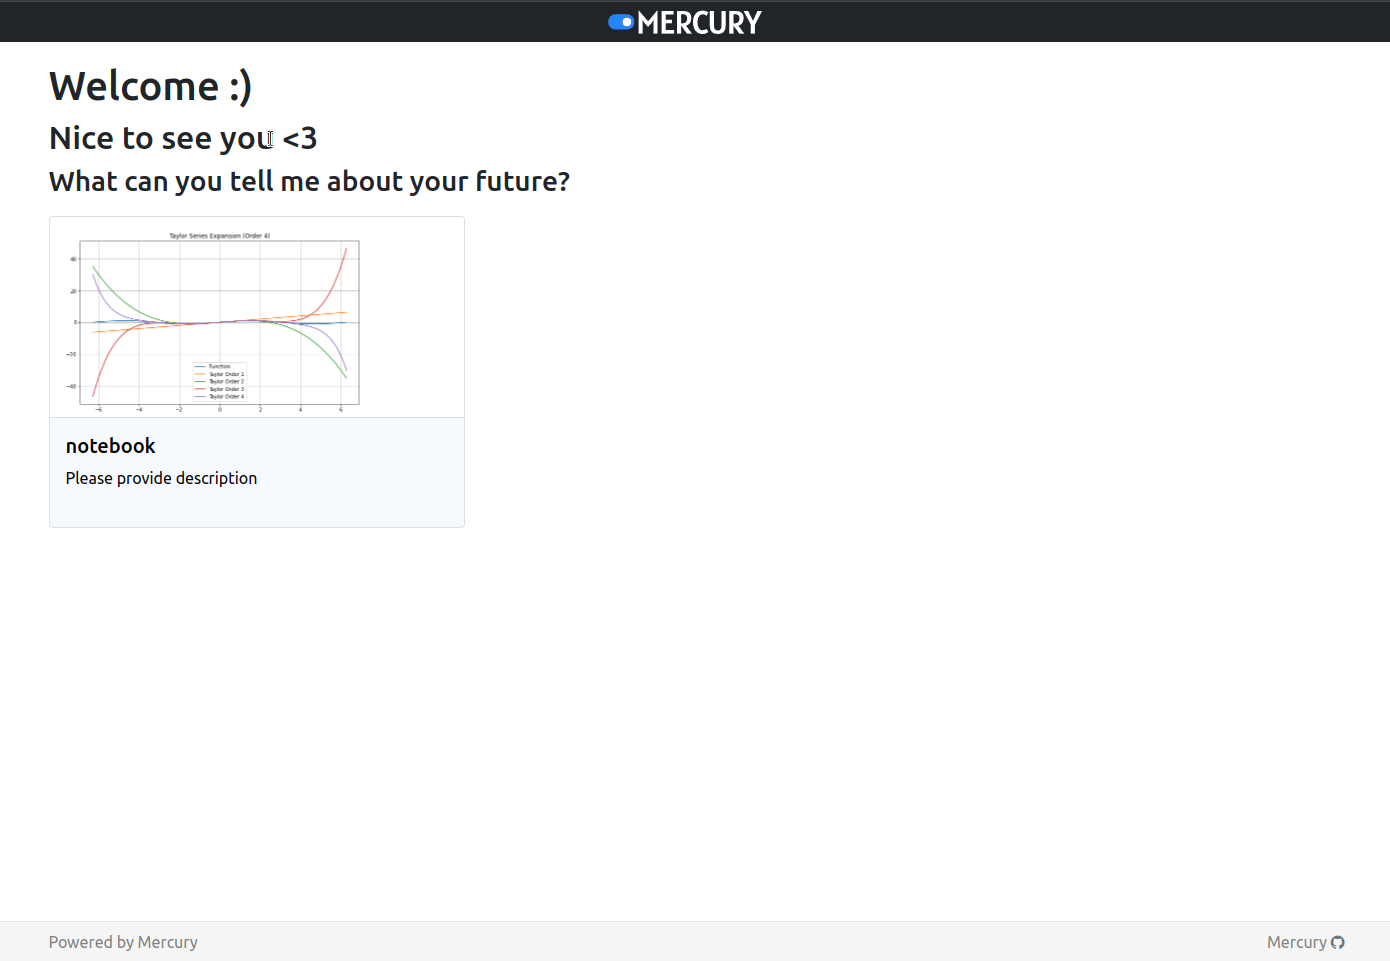
Customized Style