Range
Adds Range widget.
import mercury as mr

# add range widget
your_range = mr.Range(value=[1, 6], min=0, max=10, label="Your favourite range", step=1)

# access widget value in the code
print(f"Your range starts at {your_range.value[0]} ends at {your_range.value[1]}")
Parameters
- value (list of two integers)- the initial value of the range widget.
- min (int) - minimum allowed value in the widget, default is set to
0. - max (int) - maximum allowed value in the widget, default is set to
10. - label (string)- the label that will appear near the widget.
- step (integer or float)- value of change, default is set to
1. - url_key (string) - set this value if you would like to set
Rangevalue with URL paramters. - disabled (boolean) - disable widget in the sidebar, default is set to
False. - hidden (boolean) - hide widget in the sidebar, default is set to
False.
Share widget value in URL
Let's create the Range widget with url_key="my-range":
import mercury as mr

app = mr.App(title="Range", description="Range widget demo", show_code=True)

# add range widget
your_range = mr.Range(value=[1, 6], min=0, max=10, label="Your favourite range",
                      step=1, url_key="my-range")

# access widget value in the code
print(f"Your range starts at {your_range.value[0]} ends at {your_range.value[1]}")
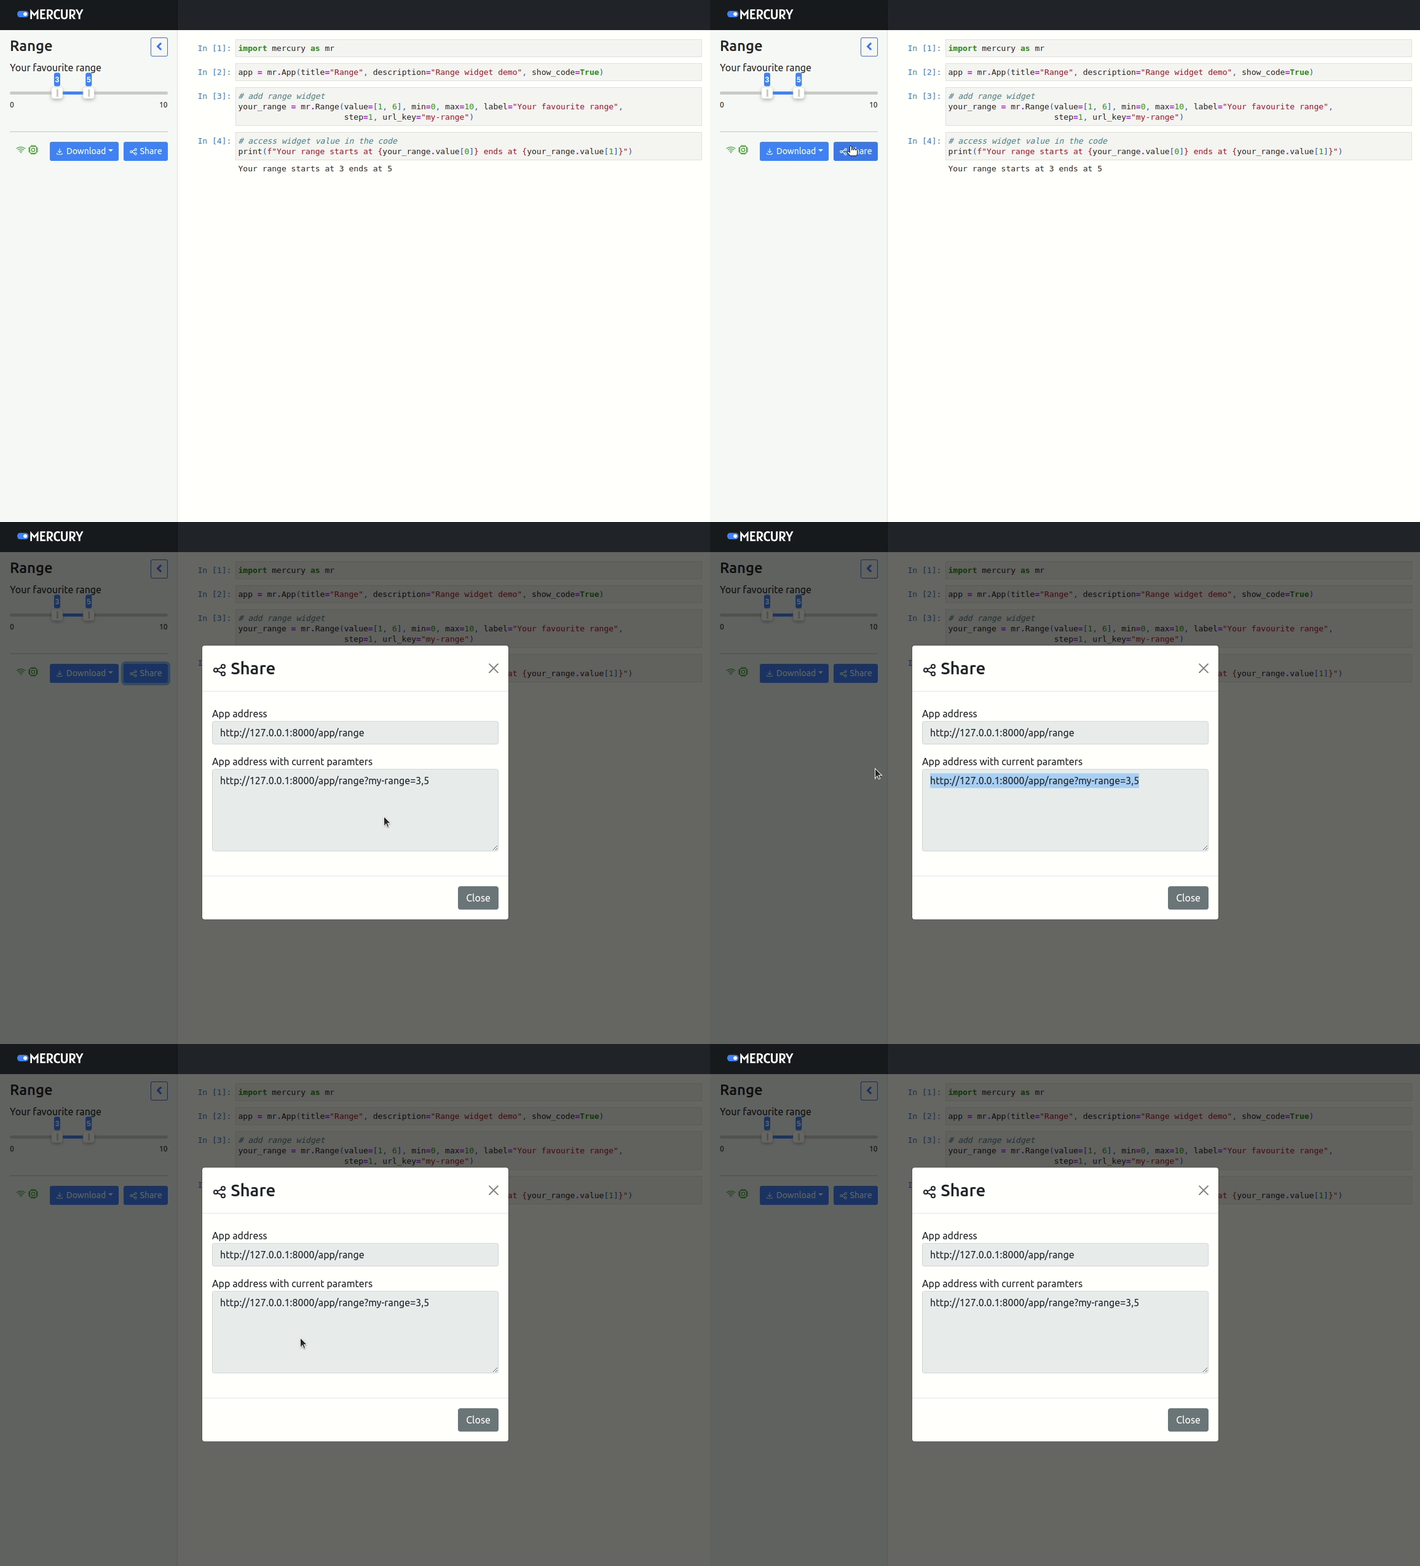
You can share the widgets values with other users. Please click the Share button in the sidebar bottom.
It will open a dialog with URL.
The URL will look like:
https://your-server-address.com/app/notebook-name?my-range=3,5Please note that ?my-range=3,5 is added at the end of URL address.

Example App
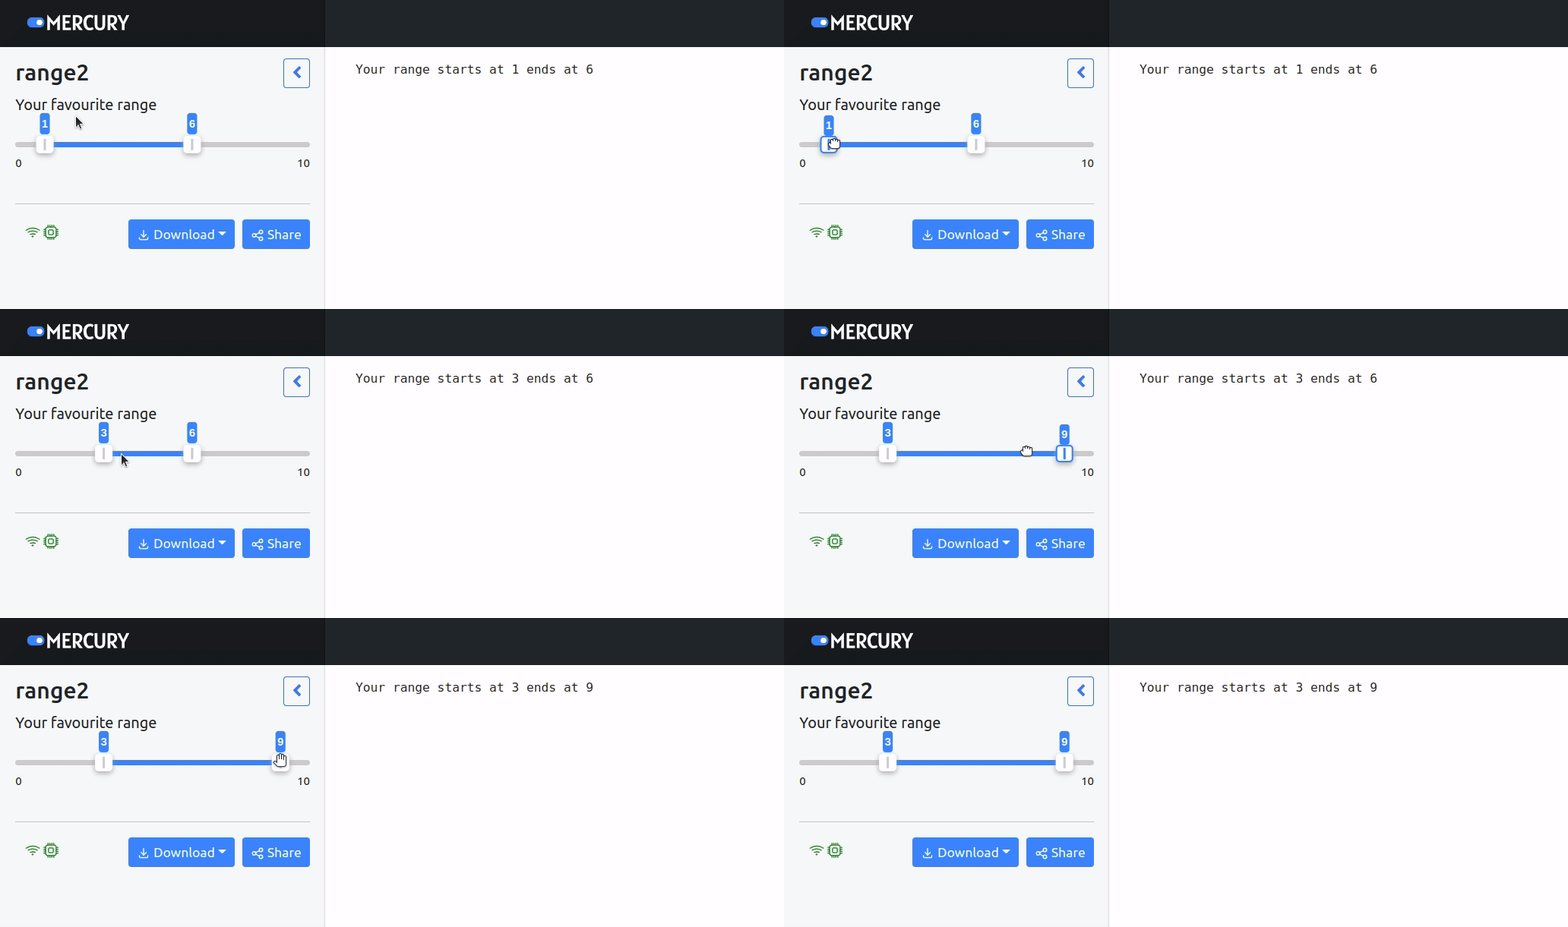
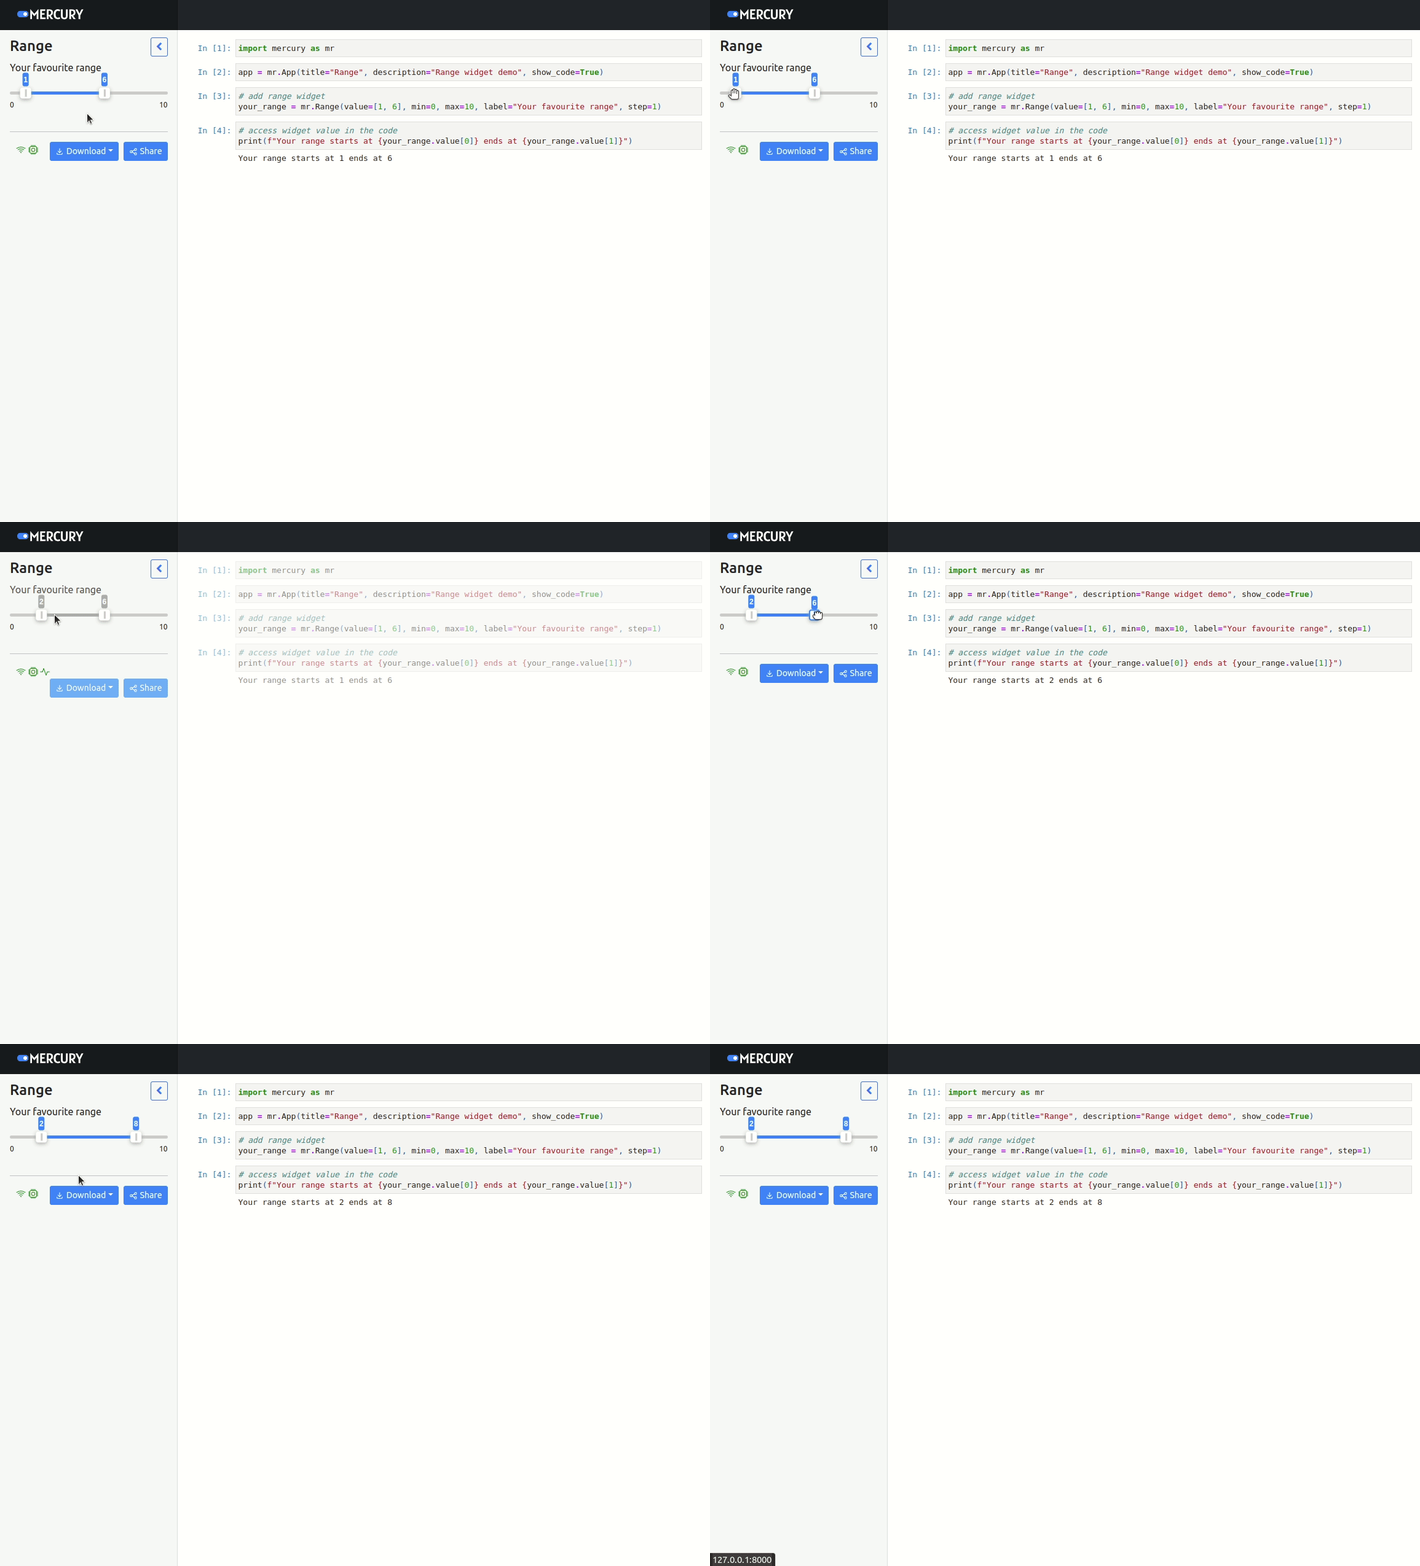
Below is a screenshot with example app. Example app is available at docs.runmercury.com/app/range (opens in a new tab).

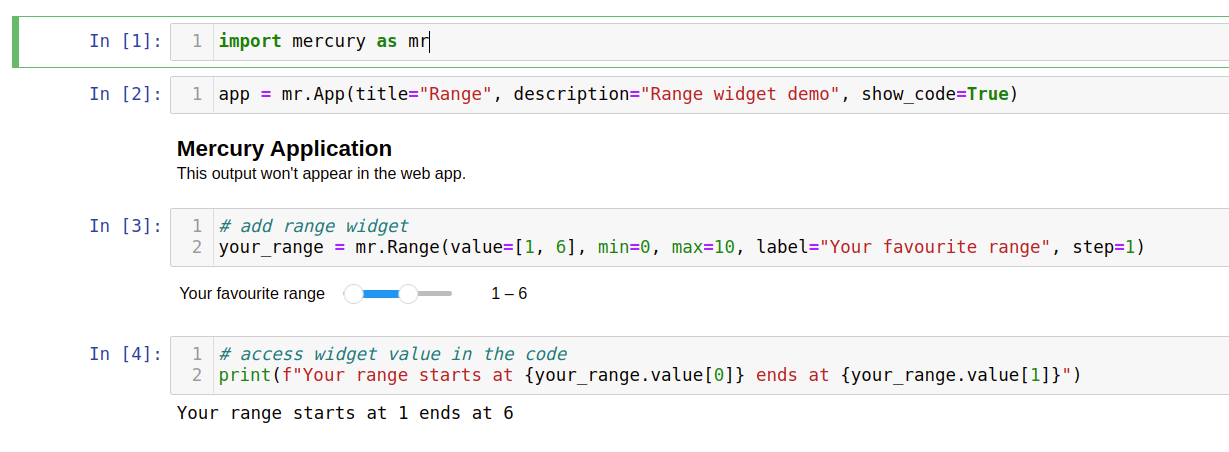
Notebook's code:
