Share Notebooks with Mercury Cloud
It's the easiest way to share notebooks online. You will be able to create a website with few clicks. Deployment is as easy as file upload.
There is a generous free plan (called Starter) so you don't need credit card to start. Please check pricing website for details.
1. Setup account
Please create a new account at https://cloud.runmercury.com/register (opens in a new tab).
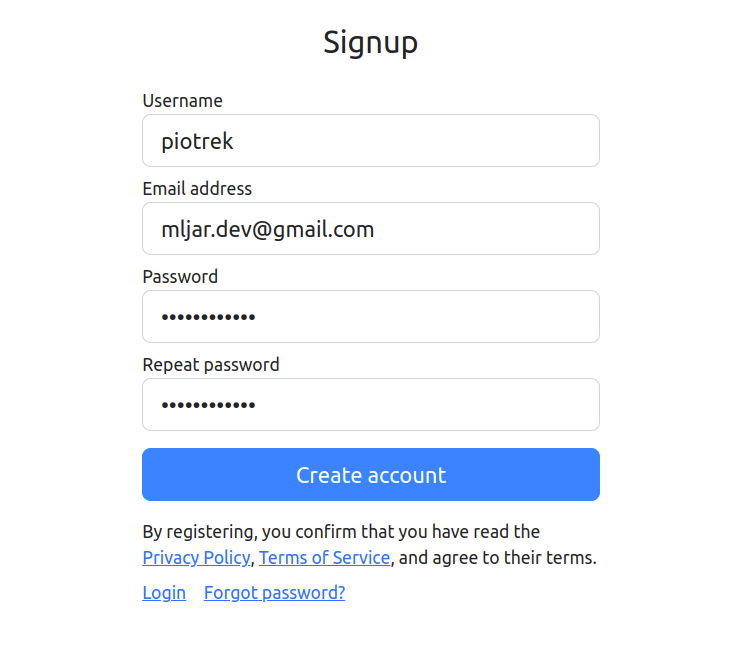
You should get e-mail with varification link. After e-mail verification please login.
2. Create first Site
You login for the first time. There are no Sites available, like in the screenshot below:
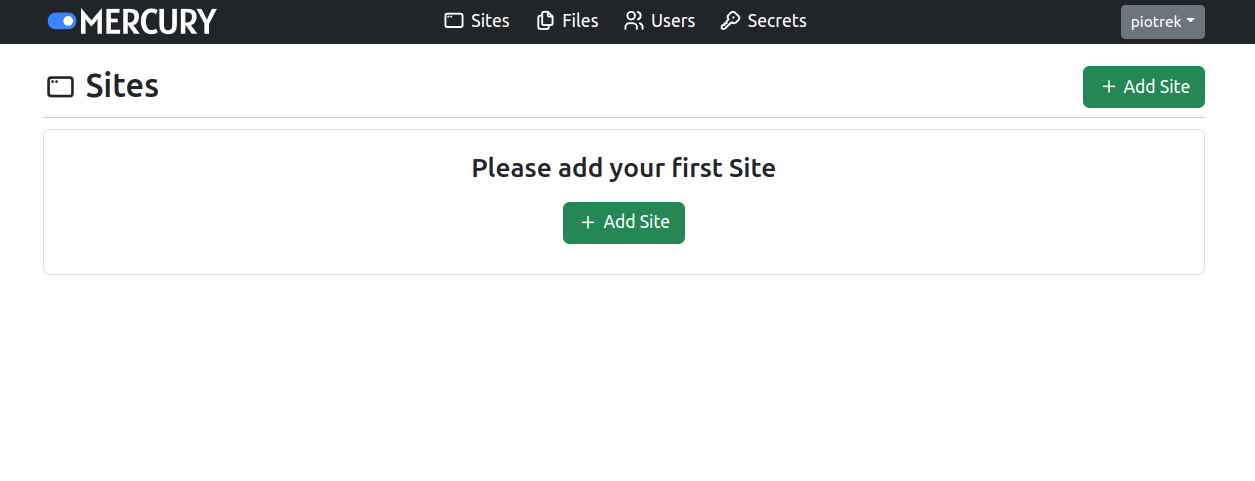
Please click Add Site to create first Site.
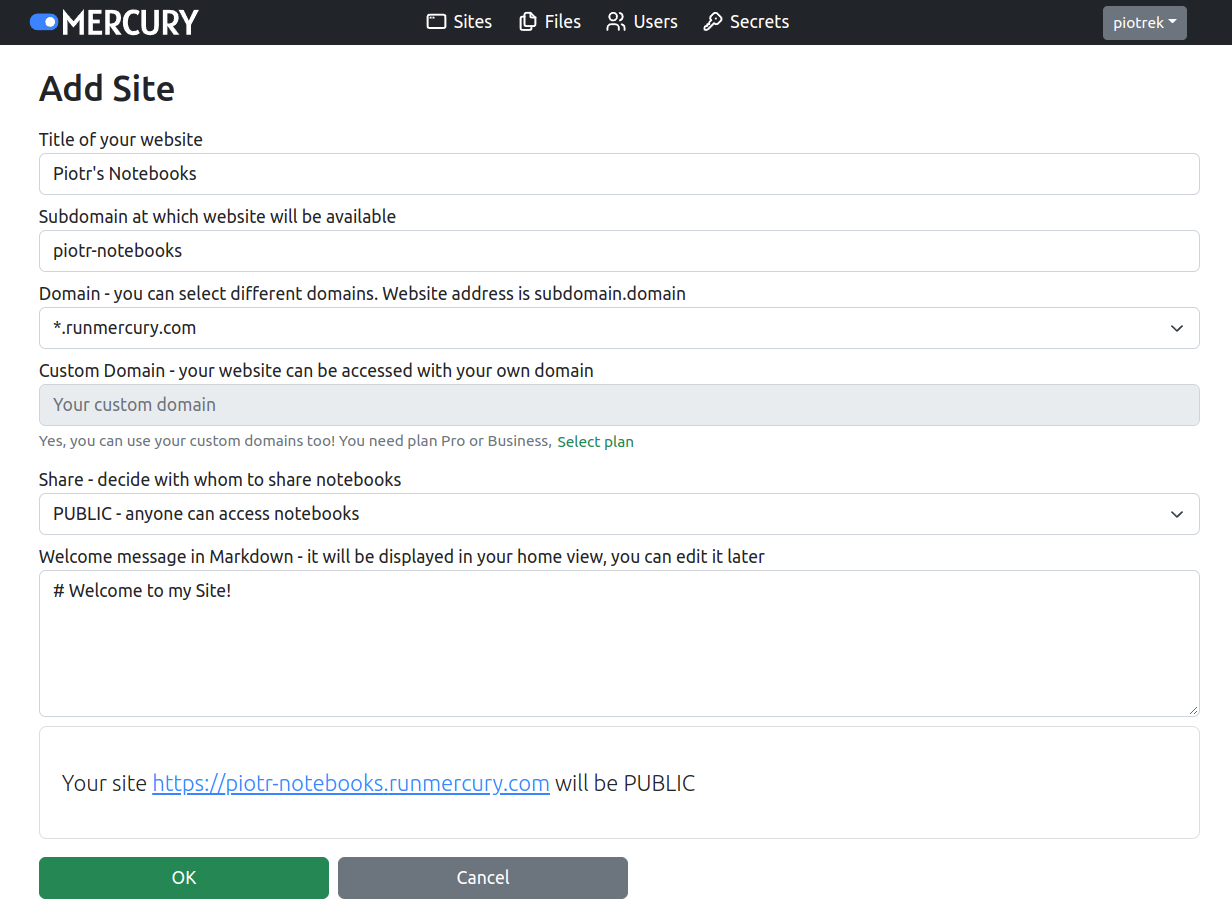
The most important things to select here:
subdomainanddomain- they will define your Site URL.Shareoption, you can make your notebooks public or private (available only to invited users).
Click OK to add a new Site. You should see the Site information:
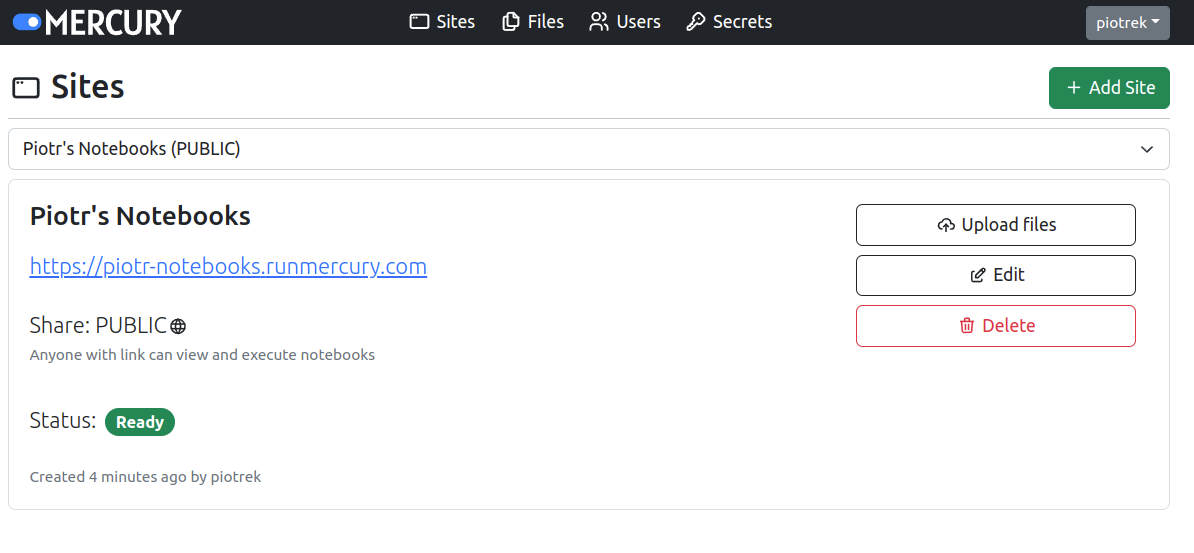
You can click on the Site URL addres to open fresh site in separate web tab. In my case it is:
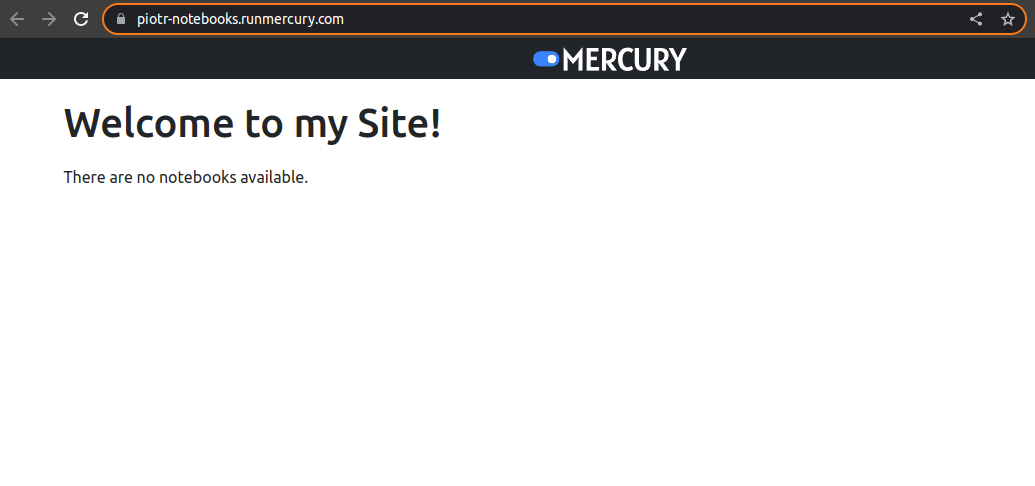
https://piotr-notebooks.runmercury.comWhen you navigate to the Site you will get basic view:
3. Update Site
Please click Edit button to update your Site:
- you can change your Site
subdomainanddomain, - you can change welcome message,
- you can edit Site visibility.
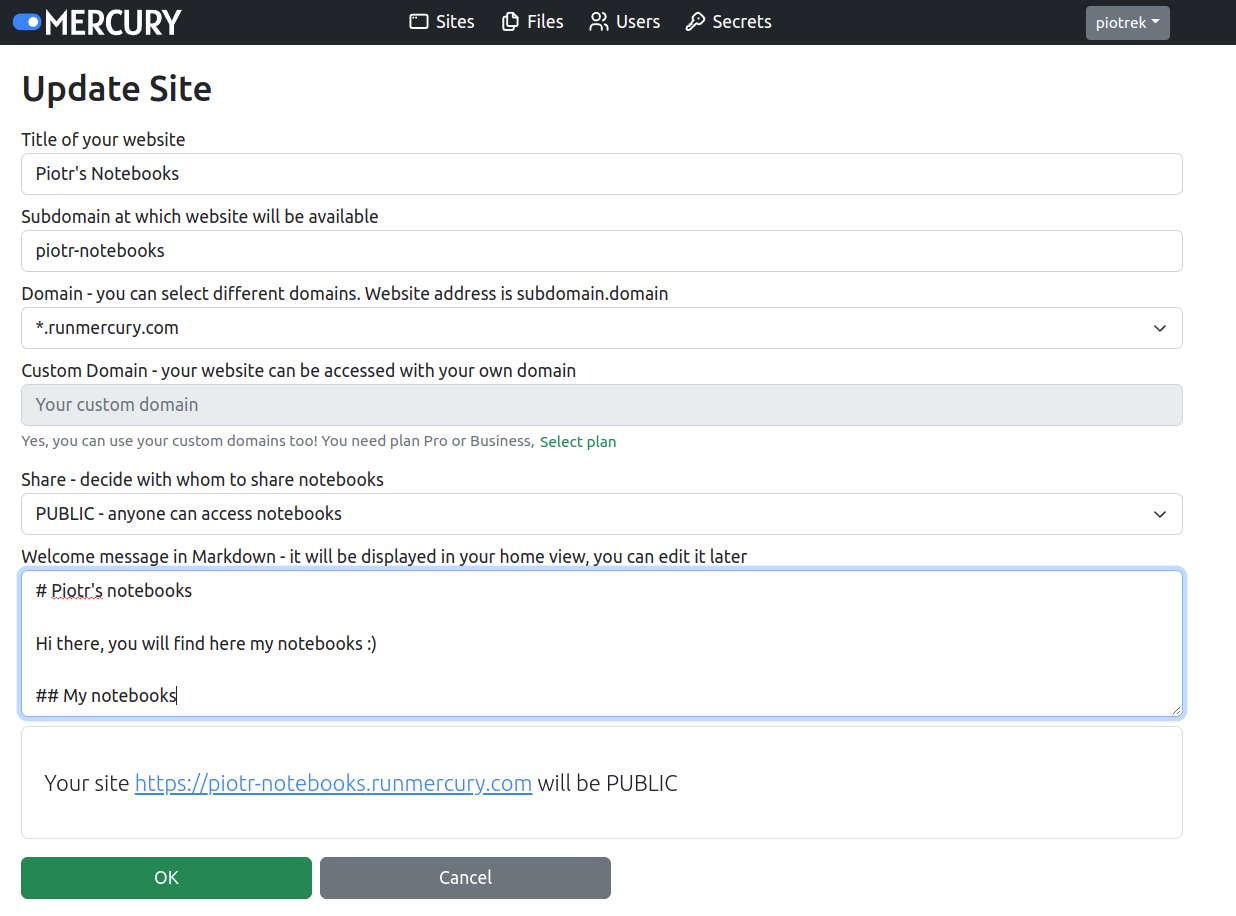
Click OK and you can refresh your Site to see changes.
4. Upload notebooks
Please click on Files in the top navigation. You should see empty view:

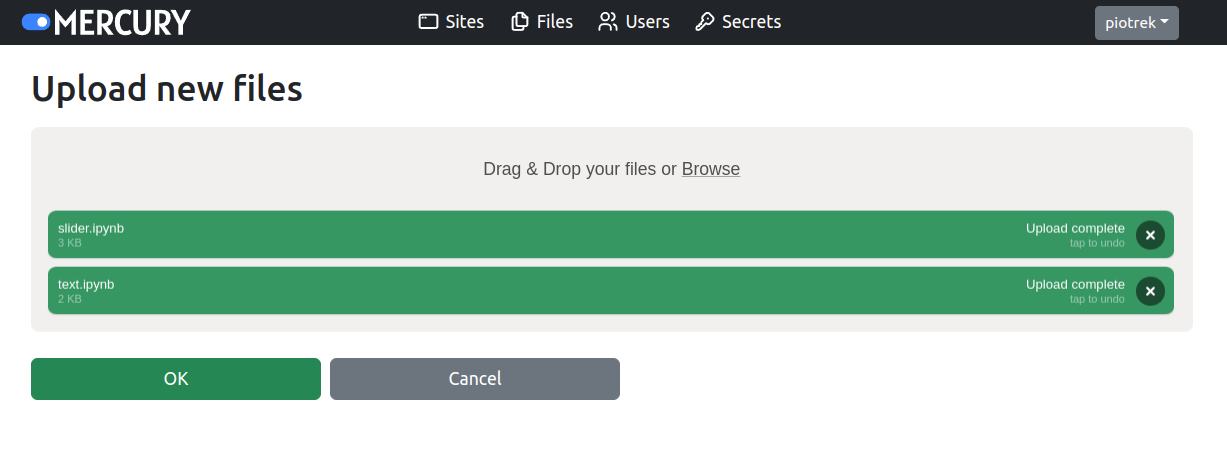
Click Upload files and upload selected notebooks:
You can also upload:
requirements.txtfile with required Python packages,- data files that are needed in notebooks.
If you upload requirements.txt file, then required Python packages are installed before your notebook is started.
5. Your notebooks are ready!
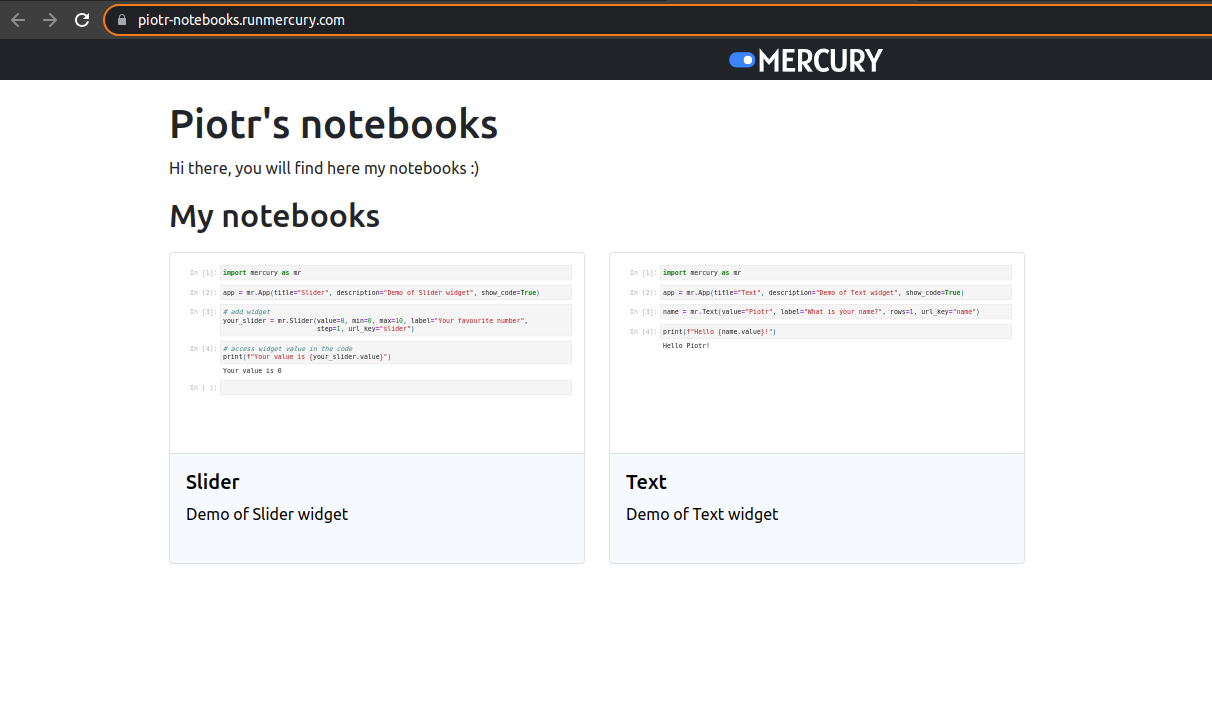
Please open your Site address and refresh it. You should see your notebooks:
Congratulations!
You notebooks are available to share with others 🎉🎉🎉