ChatGPT builder create Action with Python
OpenAI introduced option to customize ChatGPT. You can build your own ChatGPT with your:
- custom instructions,
- conversation starters,
- aware of your uploaded files,
- additional capabilities as web browsing, image generation and code interpreter,
- and Actions.
What are Actions? Actions are requests that GPT can send to other services by using REST API. It means that GPT can send request to the service and get response. This means that you can provide additional data to your ChatGPT or you can give to it power to interact with world. For example ChatGPT can interact with Smart Home REST API or send emails for you.
Let's create custom action in Python that will return current UTC time when asked. ChatGPT will be time aware with this action. By default, ChatGPT is not aware of the current time, please check the example conversation below:

We will use following tools to create custom action in Python:
- Jupyter Lab (opens in a new tab) for creating Python notebook,
- Mercury framework (opens in a new tab) to return JSON response from notebook and for serving notebook as web application,
- Mercury Cloud for deploying notebook online.
Python notebook
The Python notebook with import required packages: mercury and datetime. The datetime is default Python package (no need to install), to install mercury please run:
pip install mercuryLet's import required packages:
import mercury as mr
from datetime import datetime
We need to define App object. It will specify the title and description that will be used in OpenAPI schema.
app = mr.App(title="Current UTC time", description="This notebook displays current time in UTC")The APIResponse
response = mr.APIResponse({"utc_time_now": str(datetime.utcnow())})The full notebook looks like in the image below:

That's the end of coding. We can check locally how this notebook is working in Mercury, by starting command in the same directory where our notebook is:
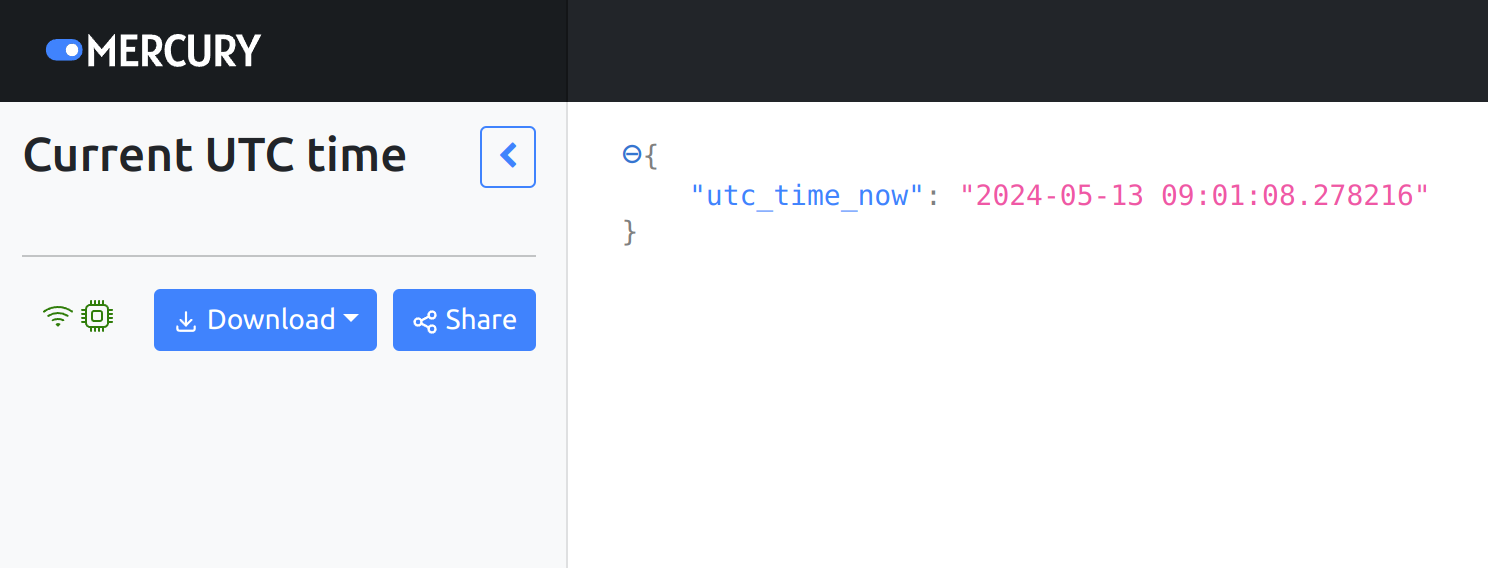
mercury runIt should display notebook as web application at address 127.0.0.1:8000:
Deploy notebook
The notebook will be deployed with Mercury Cloud because it is the easiest way to put notebook online with unique domain address.
Login to Mercury Cloud
If you don't have account, you can create it here: Mercury Cloud (opens in a new tab).
Create new site
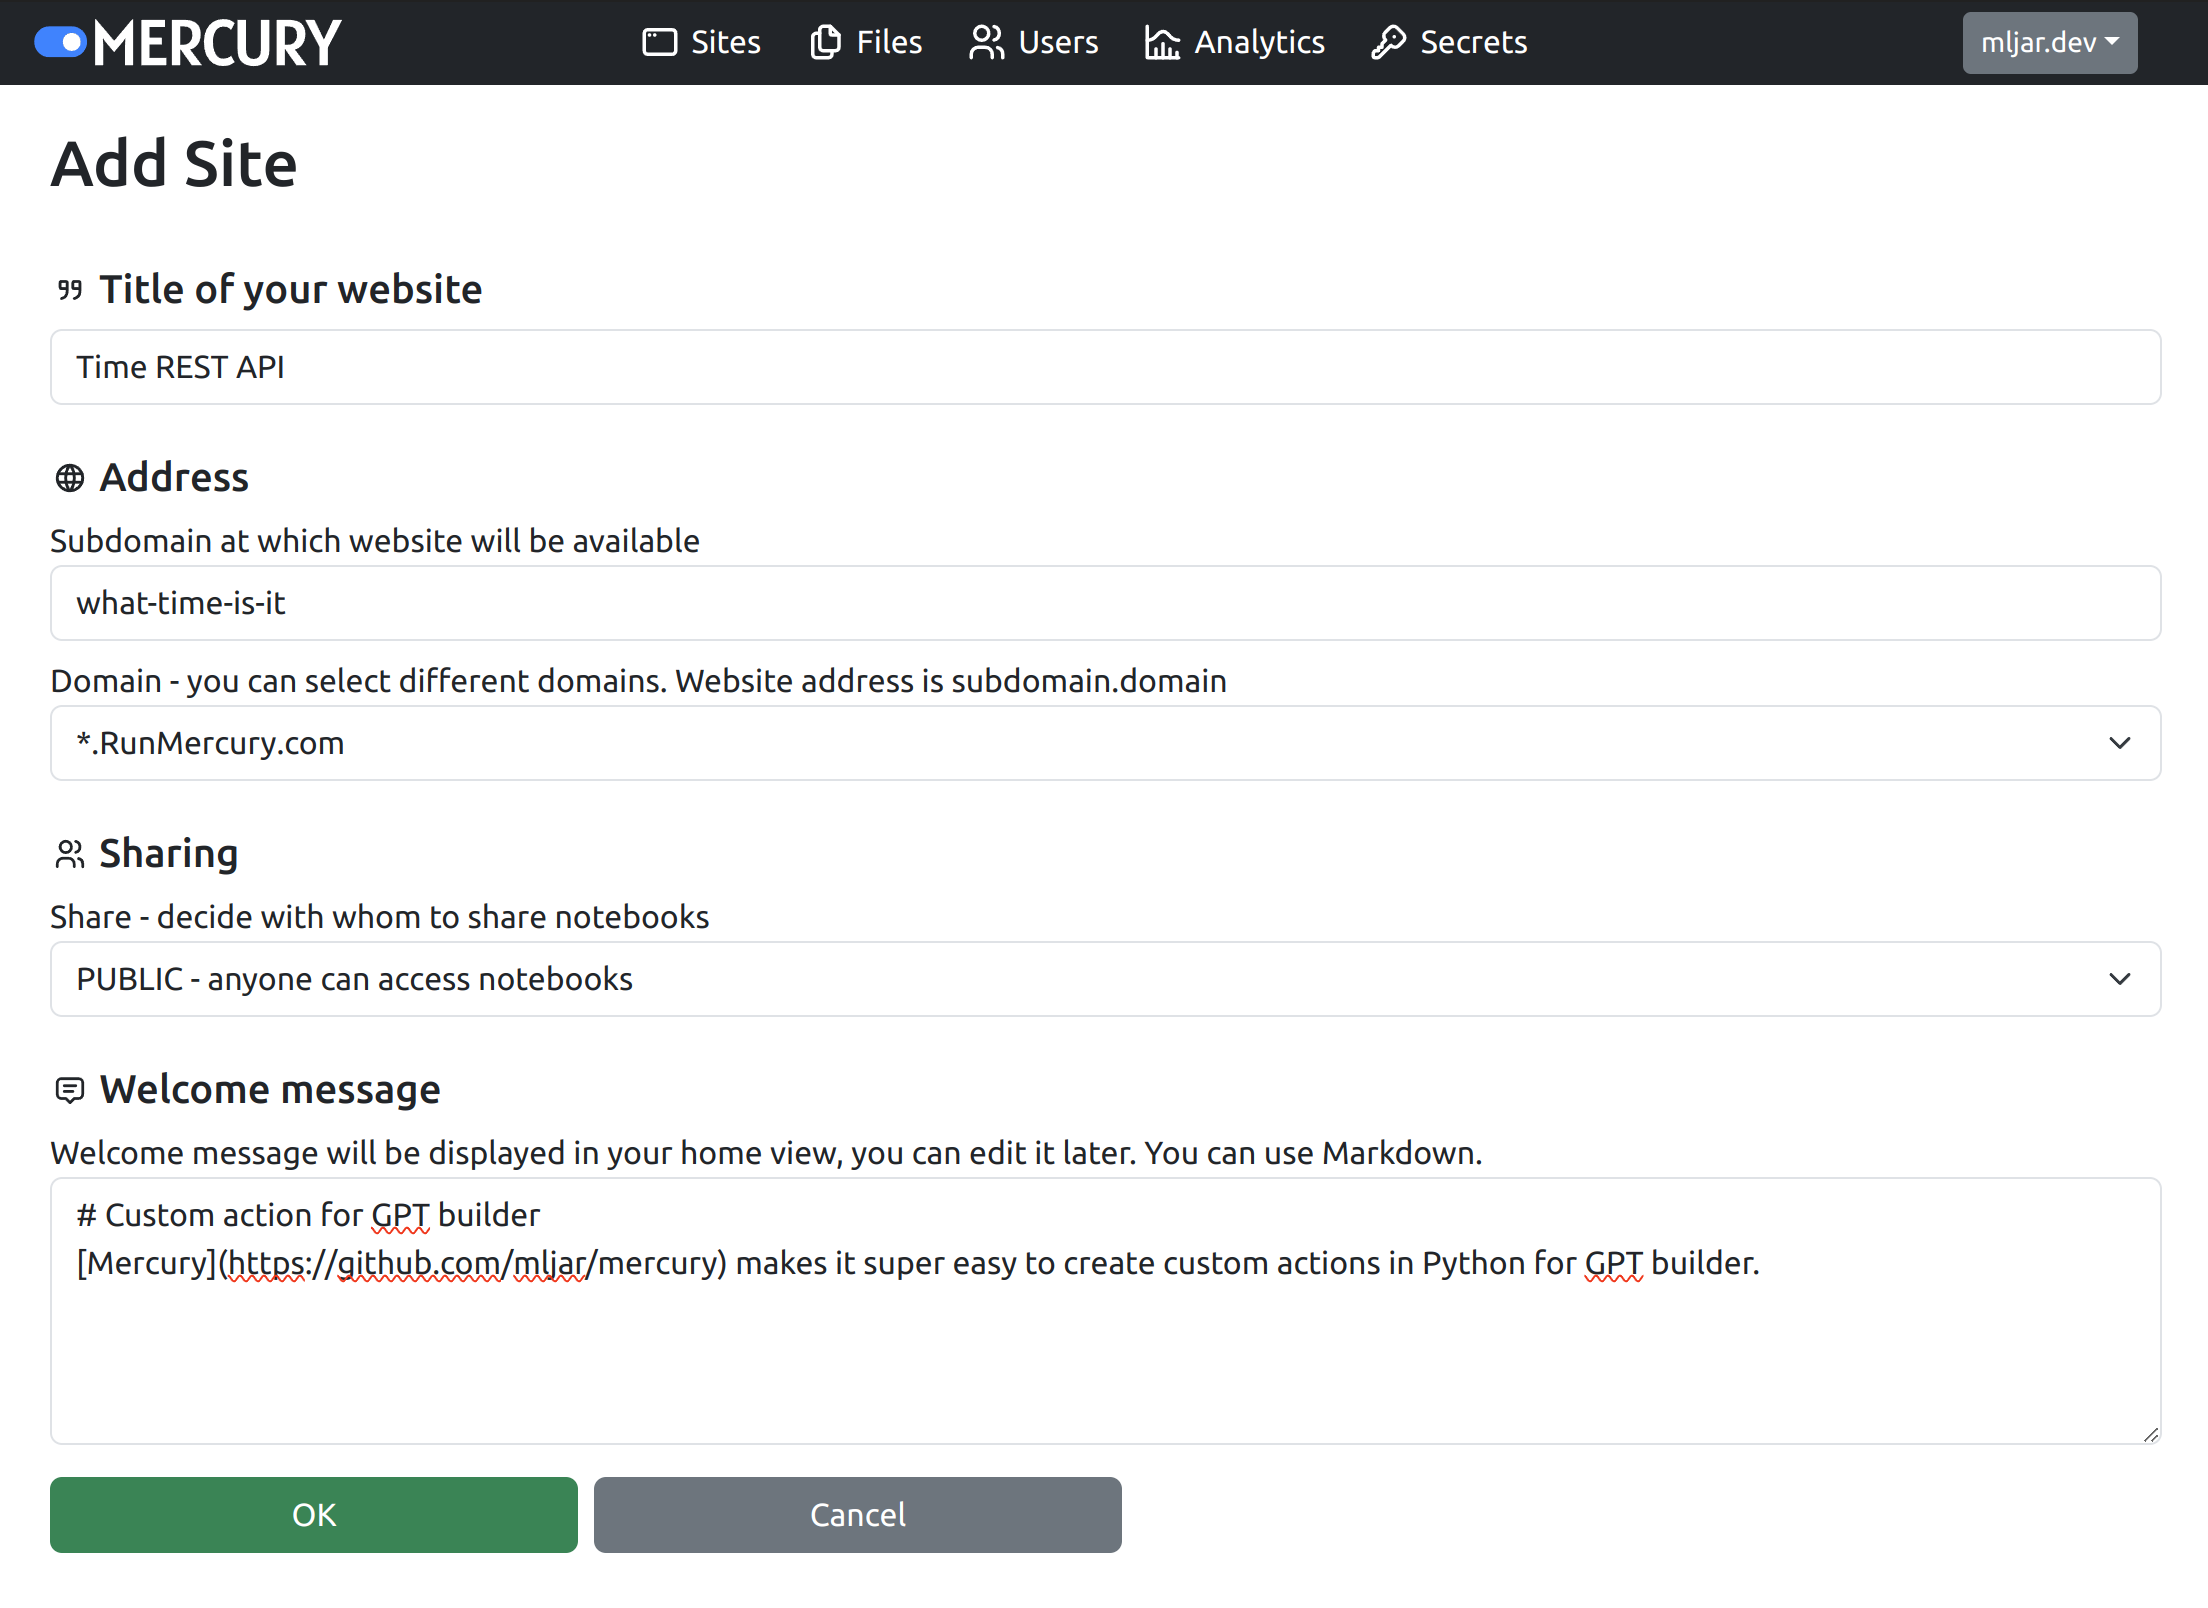
Create a new site is as simple as filling the below form:
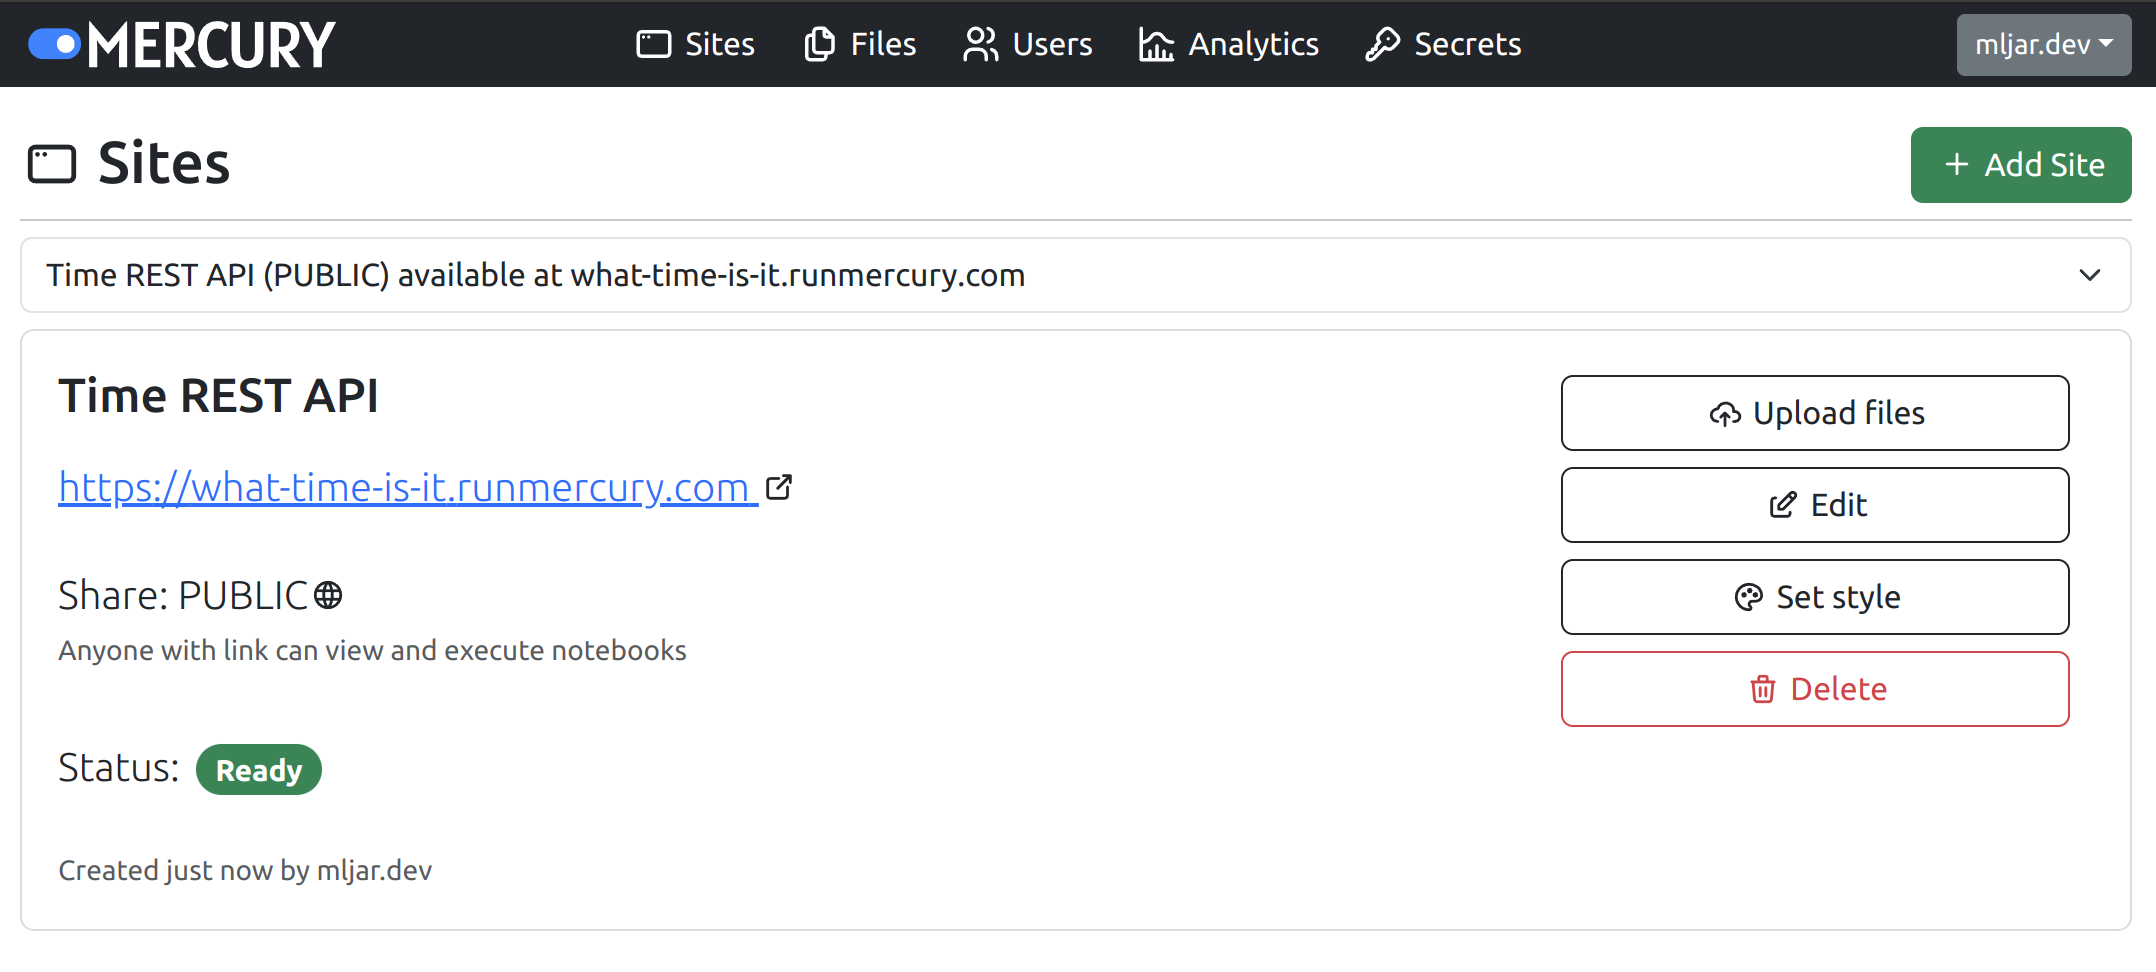
You should get the similar view after clicking OK. The website is available at https://what-time-is-it.runmercury.com
Upload your notebook
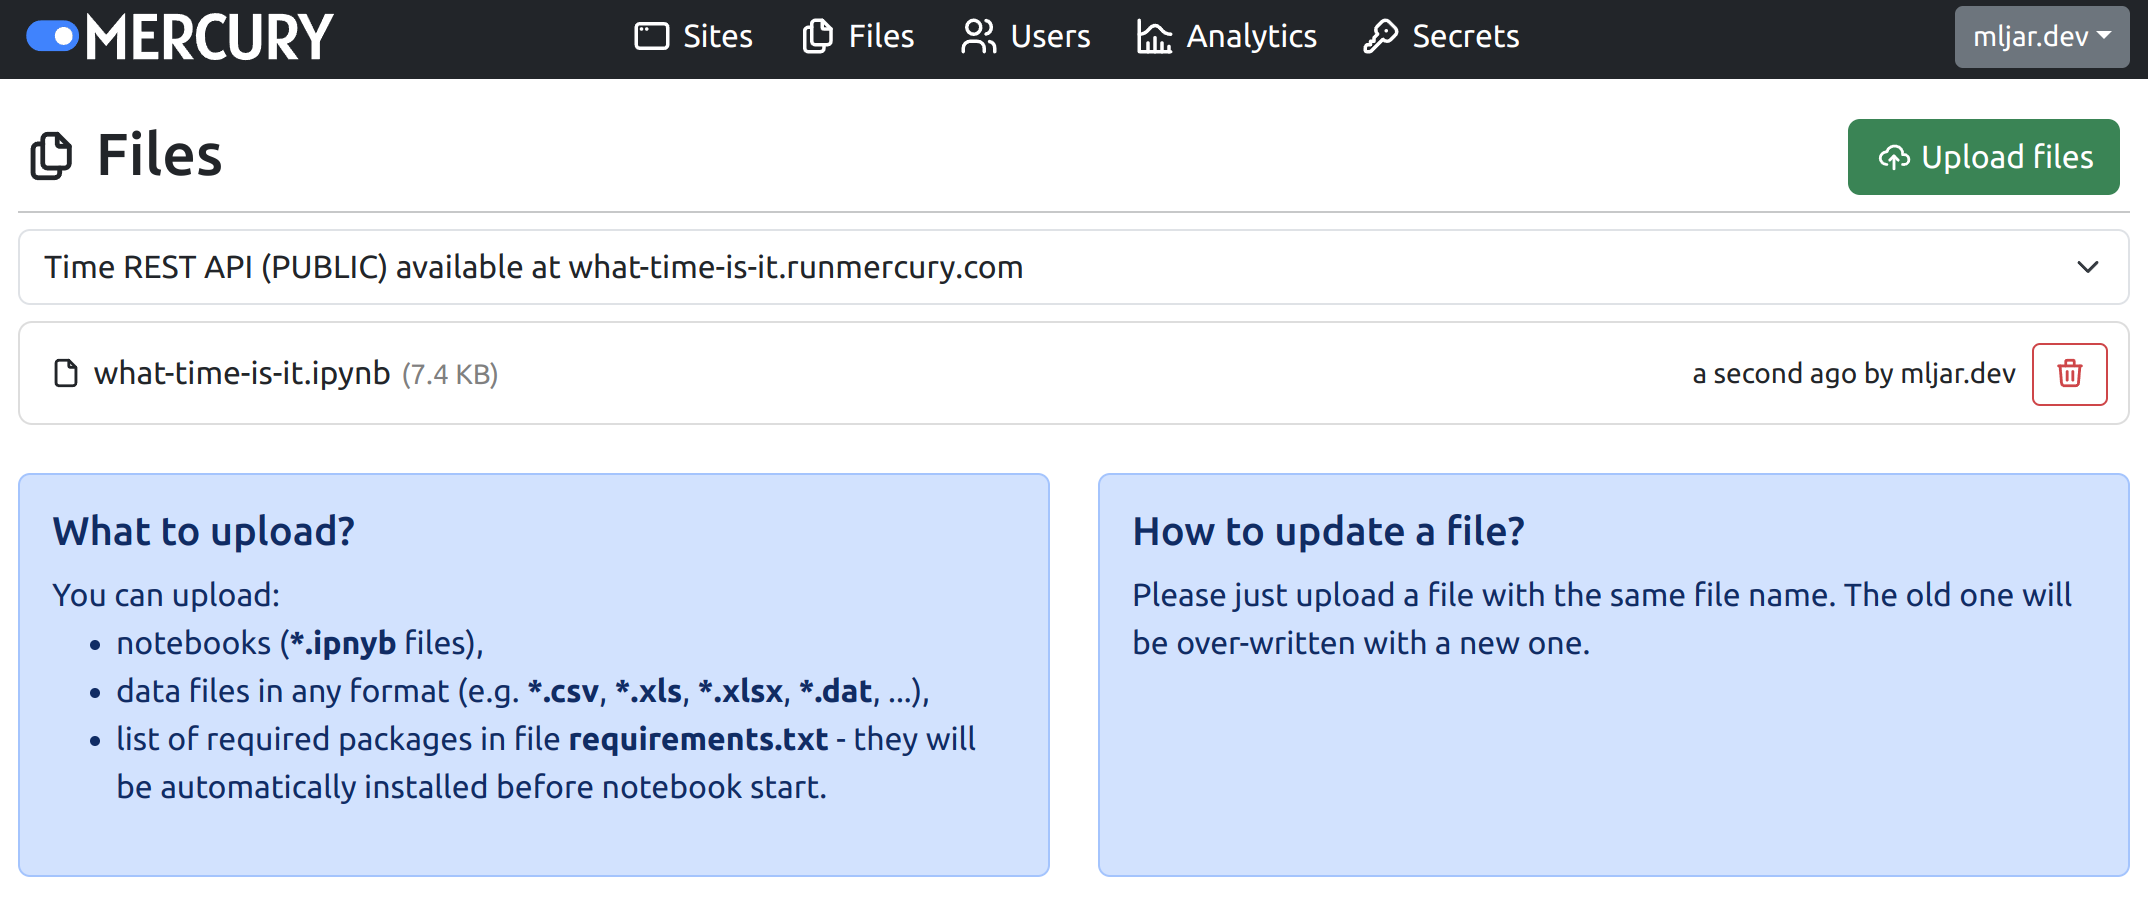
Please click Upload files to upload your notebook.
Configure GPT builder
We are ready to configure GPT. Please open GPT editor and click Create new action button:
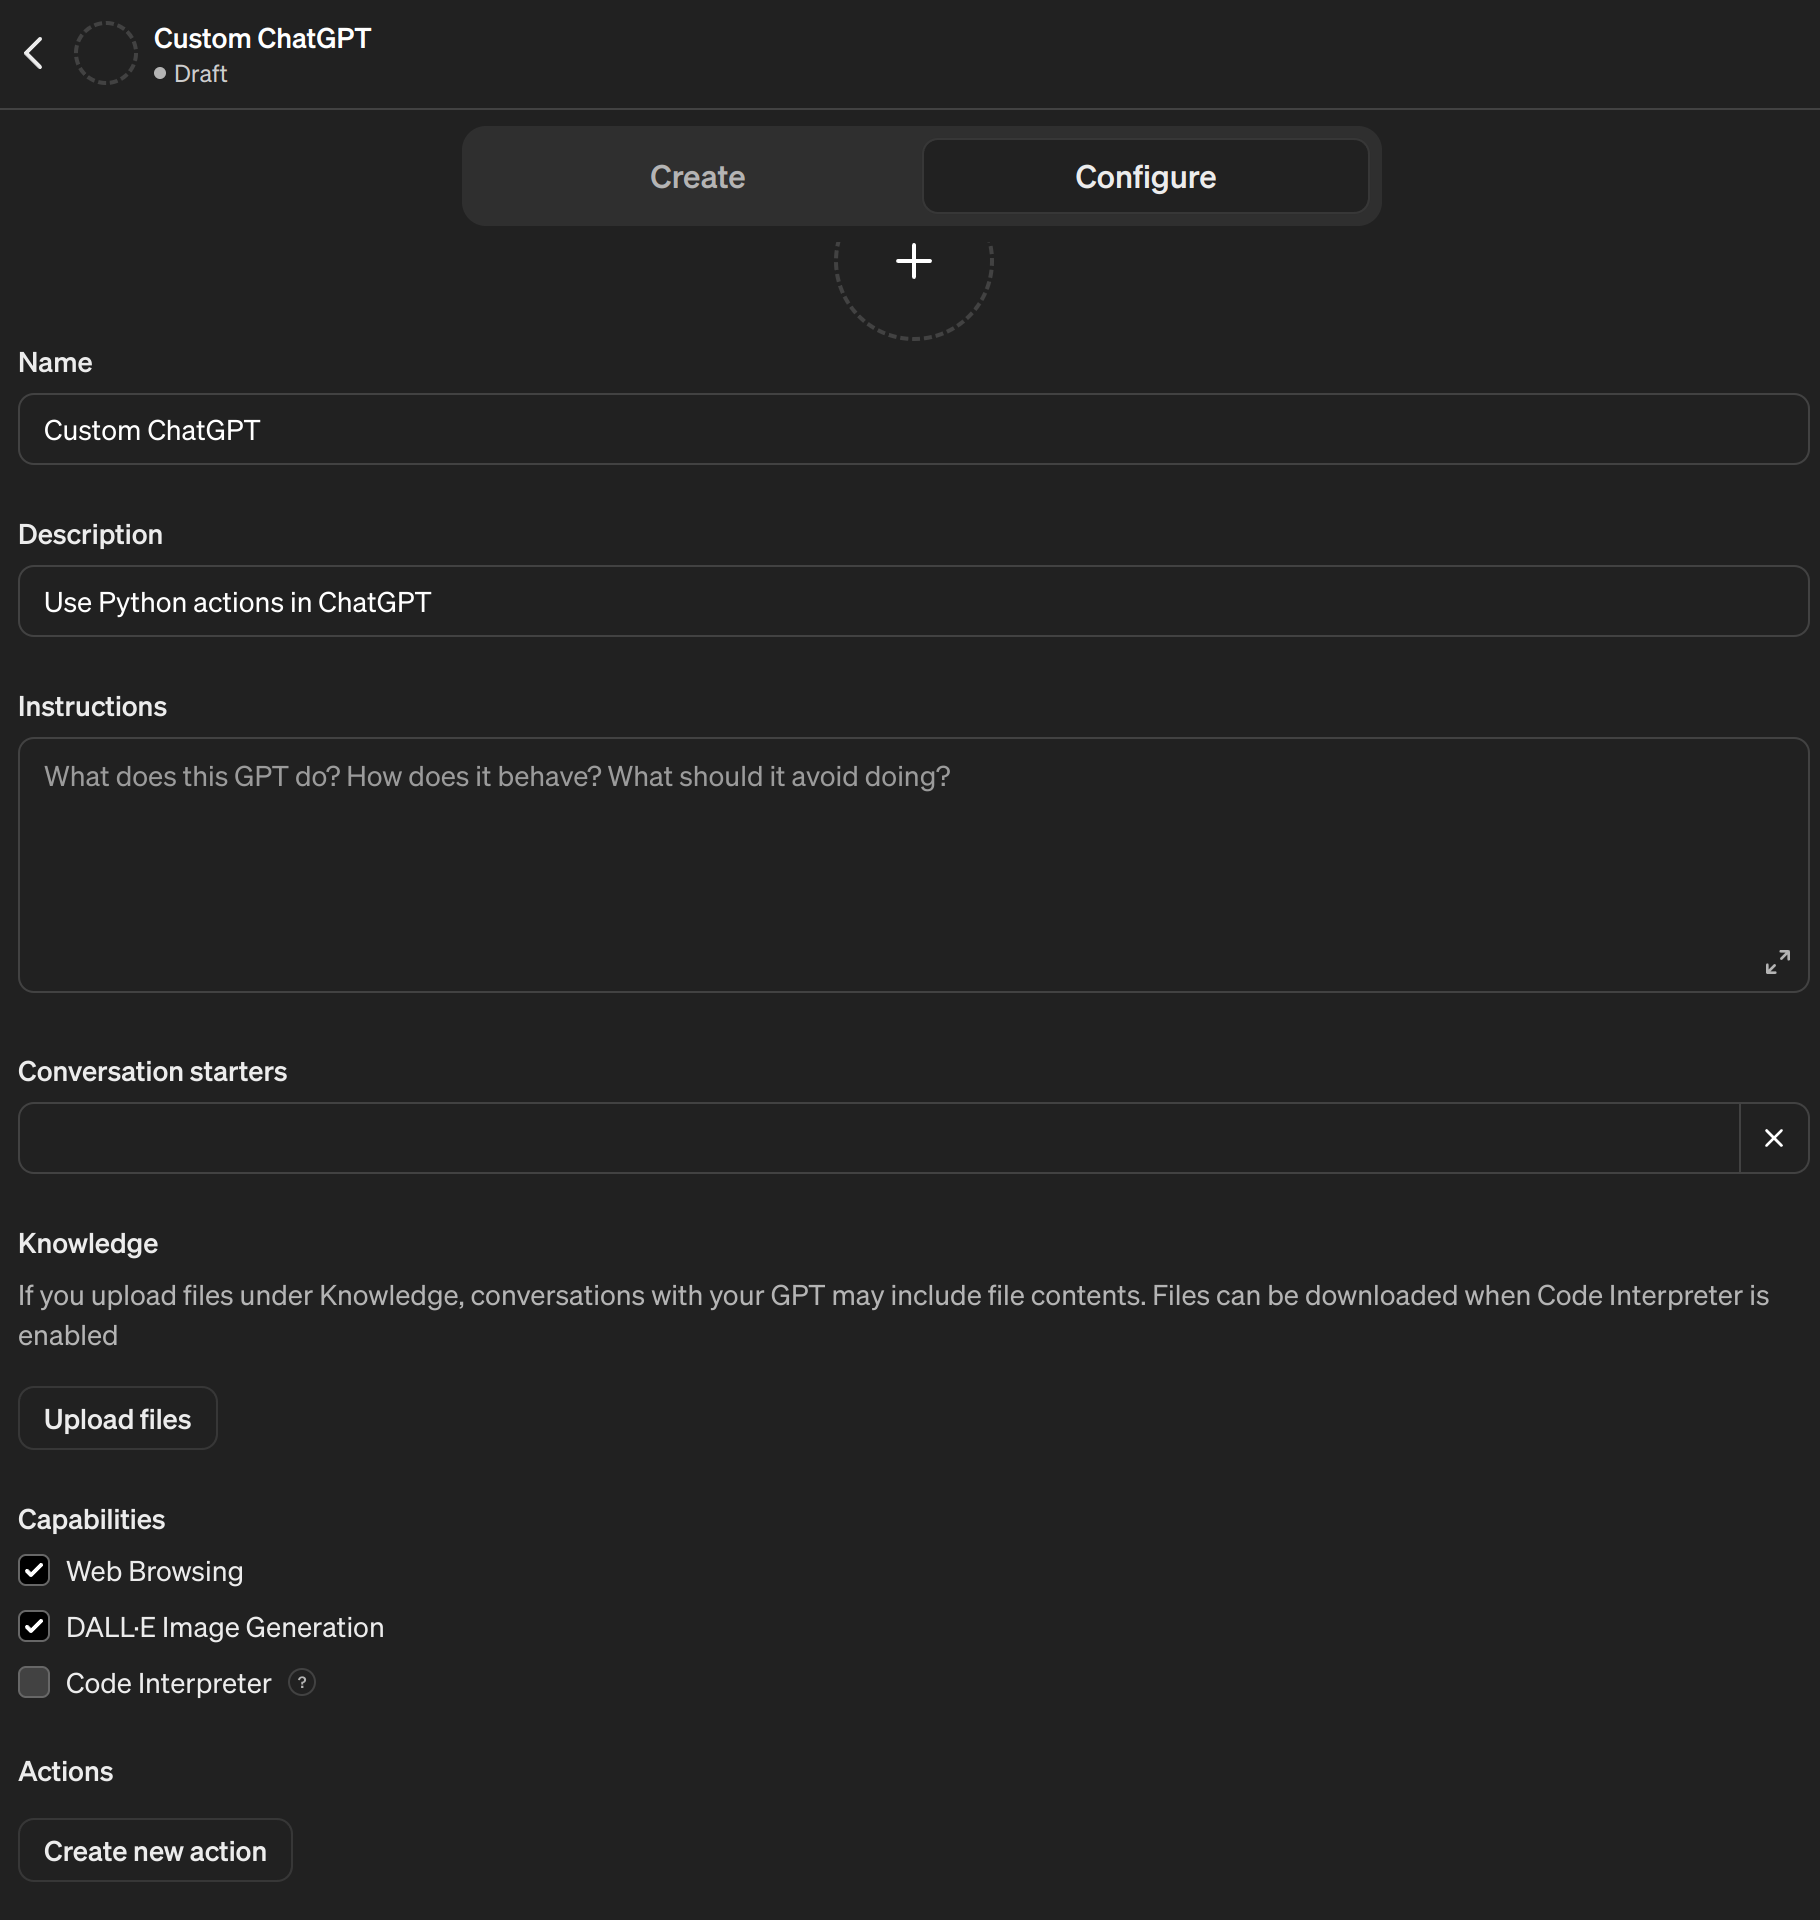
You will see form to define new actions. You need to provide the OpenAPI schema for actions. It is automatically generated for your notebooks in Mercury, please open your website with notebook in Mercury Cloud, and click OpenAPI link in the footer:
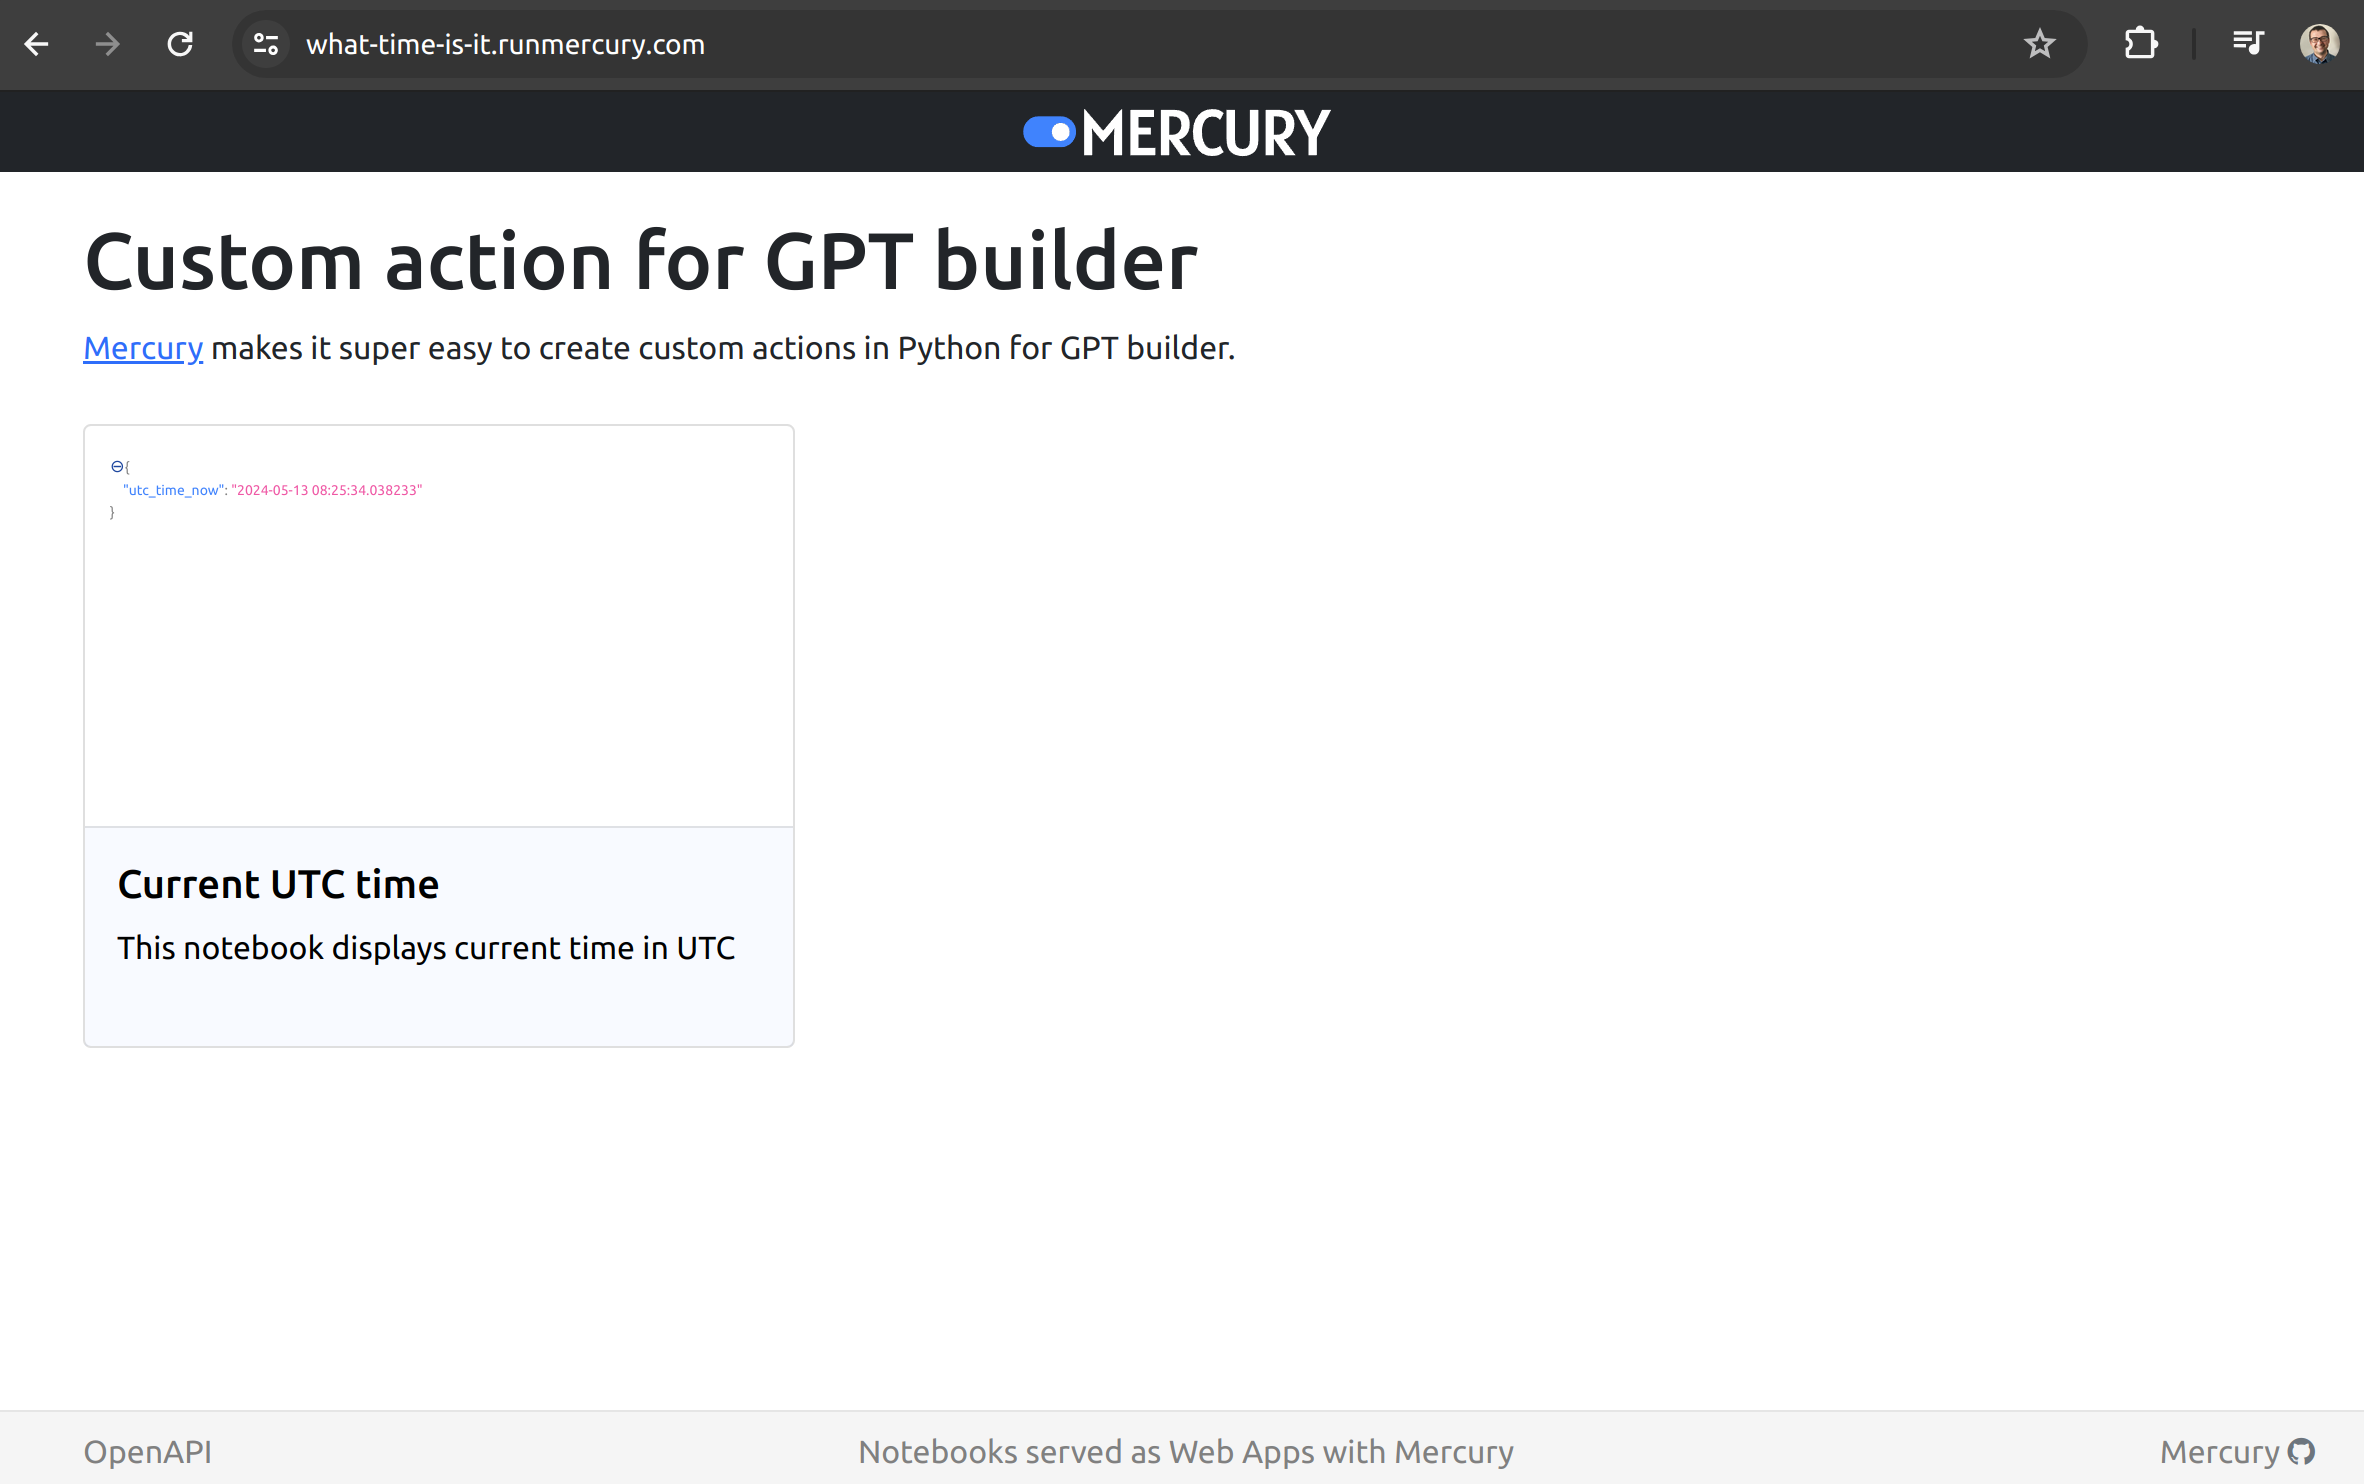
You should see OpenAPI schema for your notebooks. Please copy it.
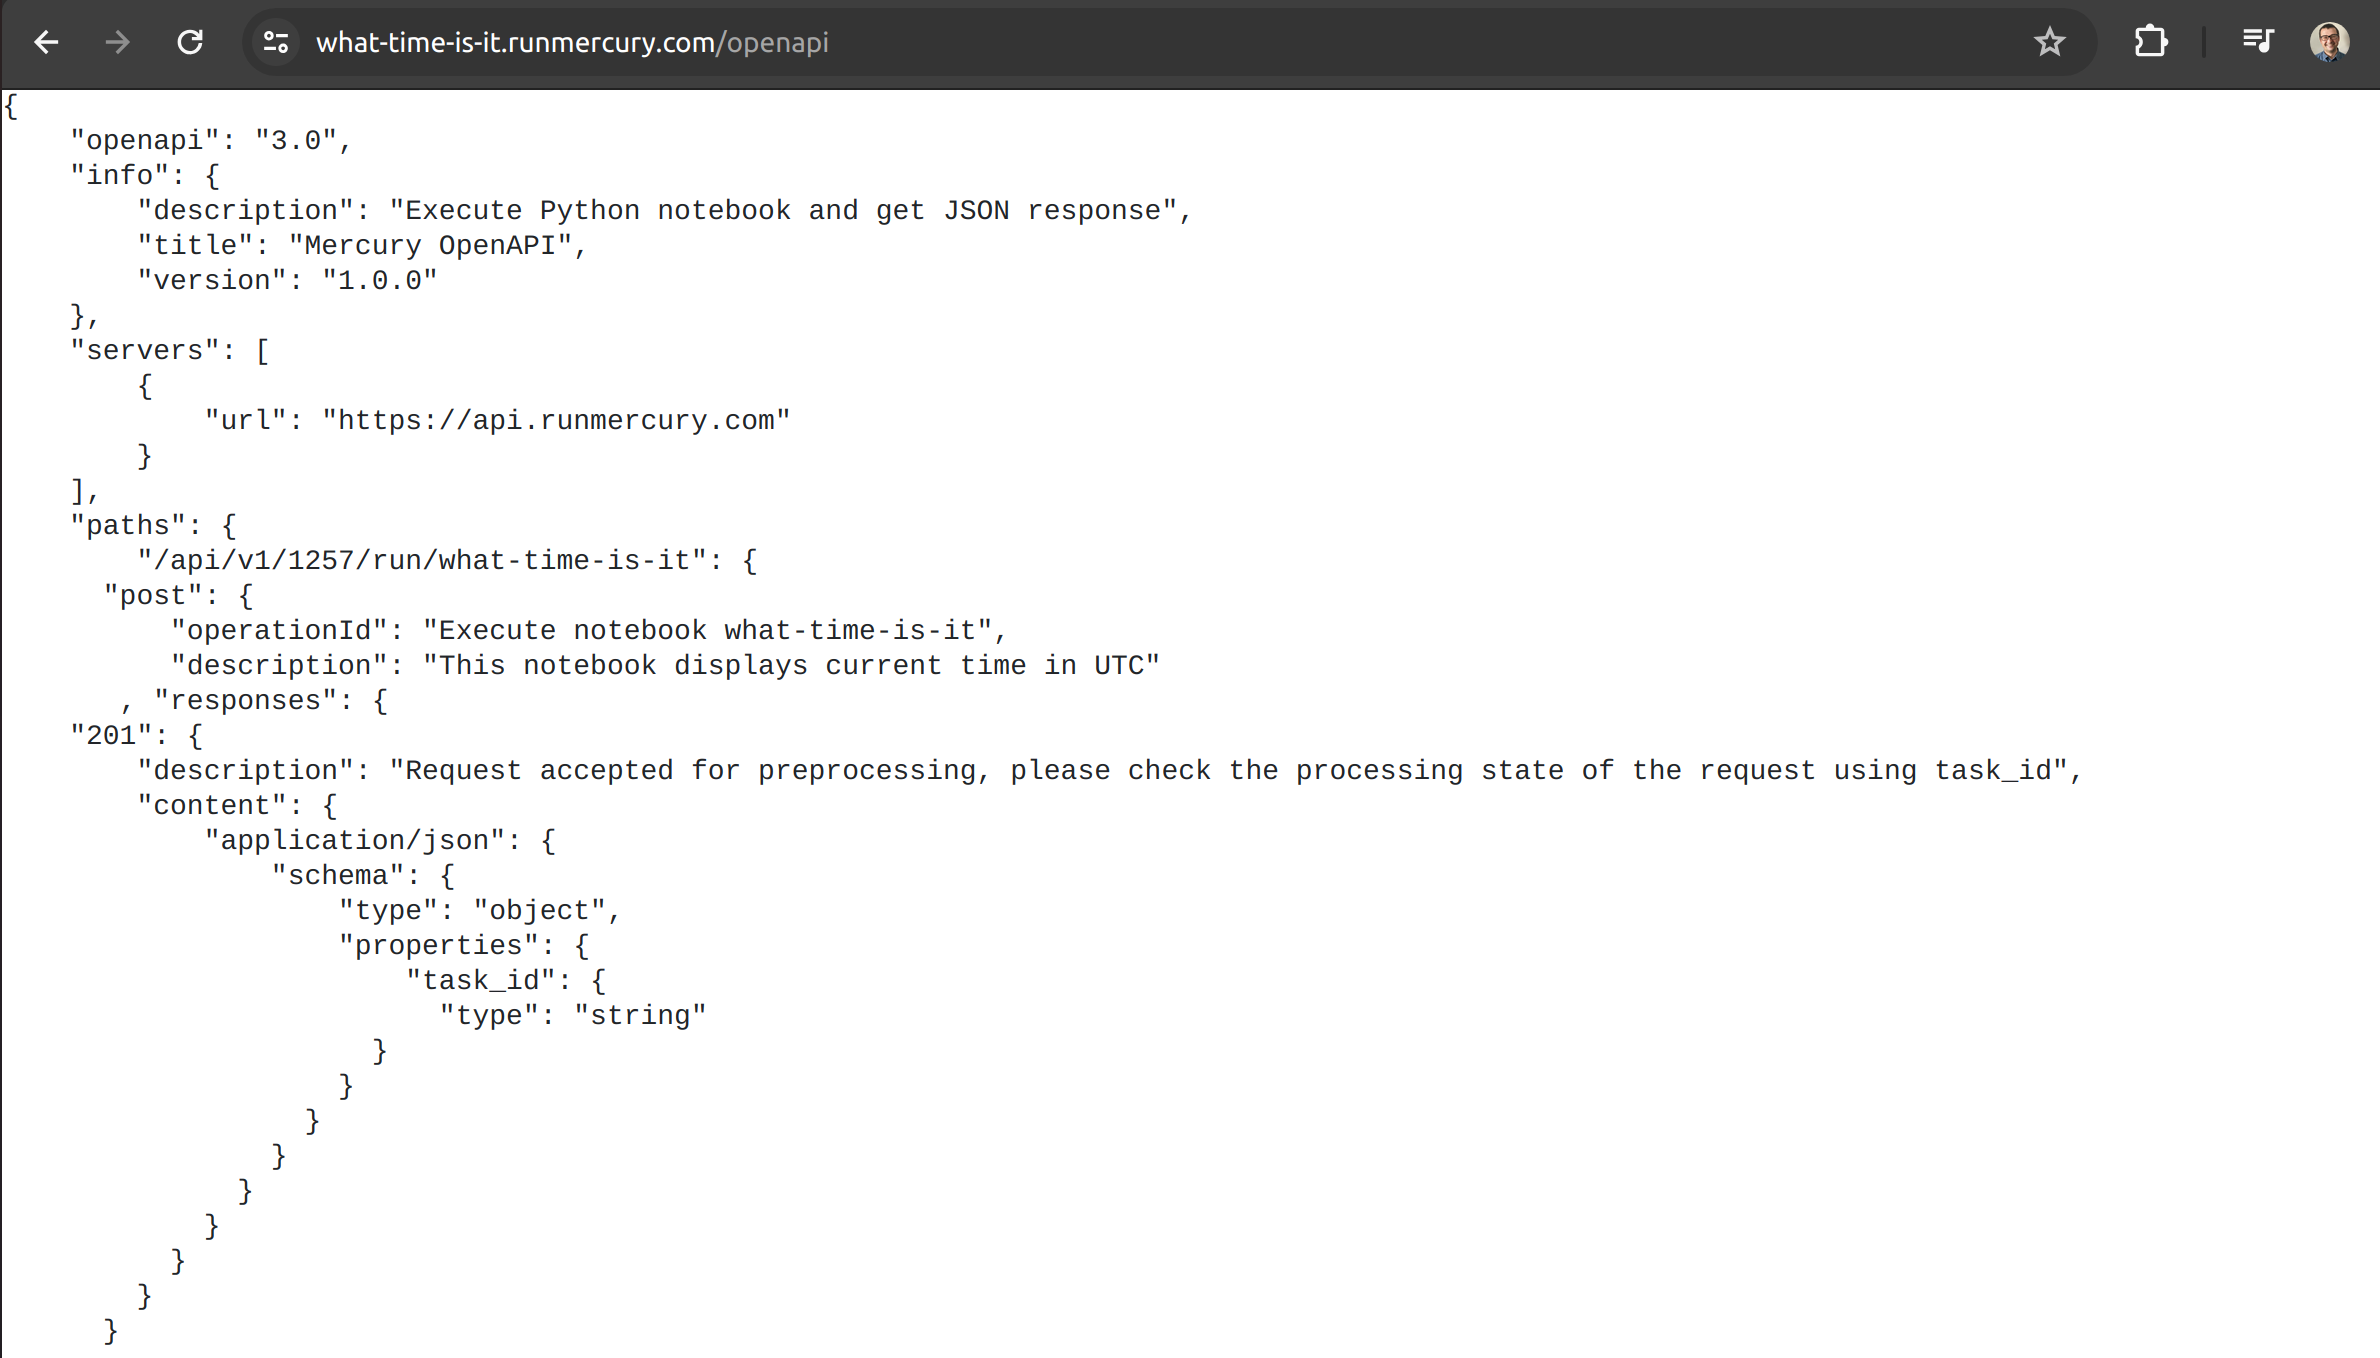
Please pase the schema in the GPT builder:
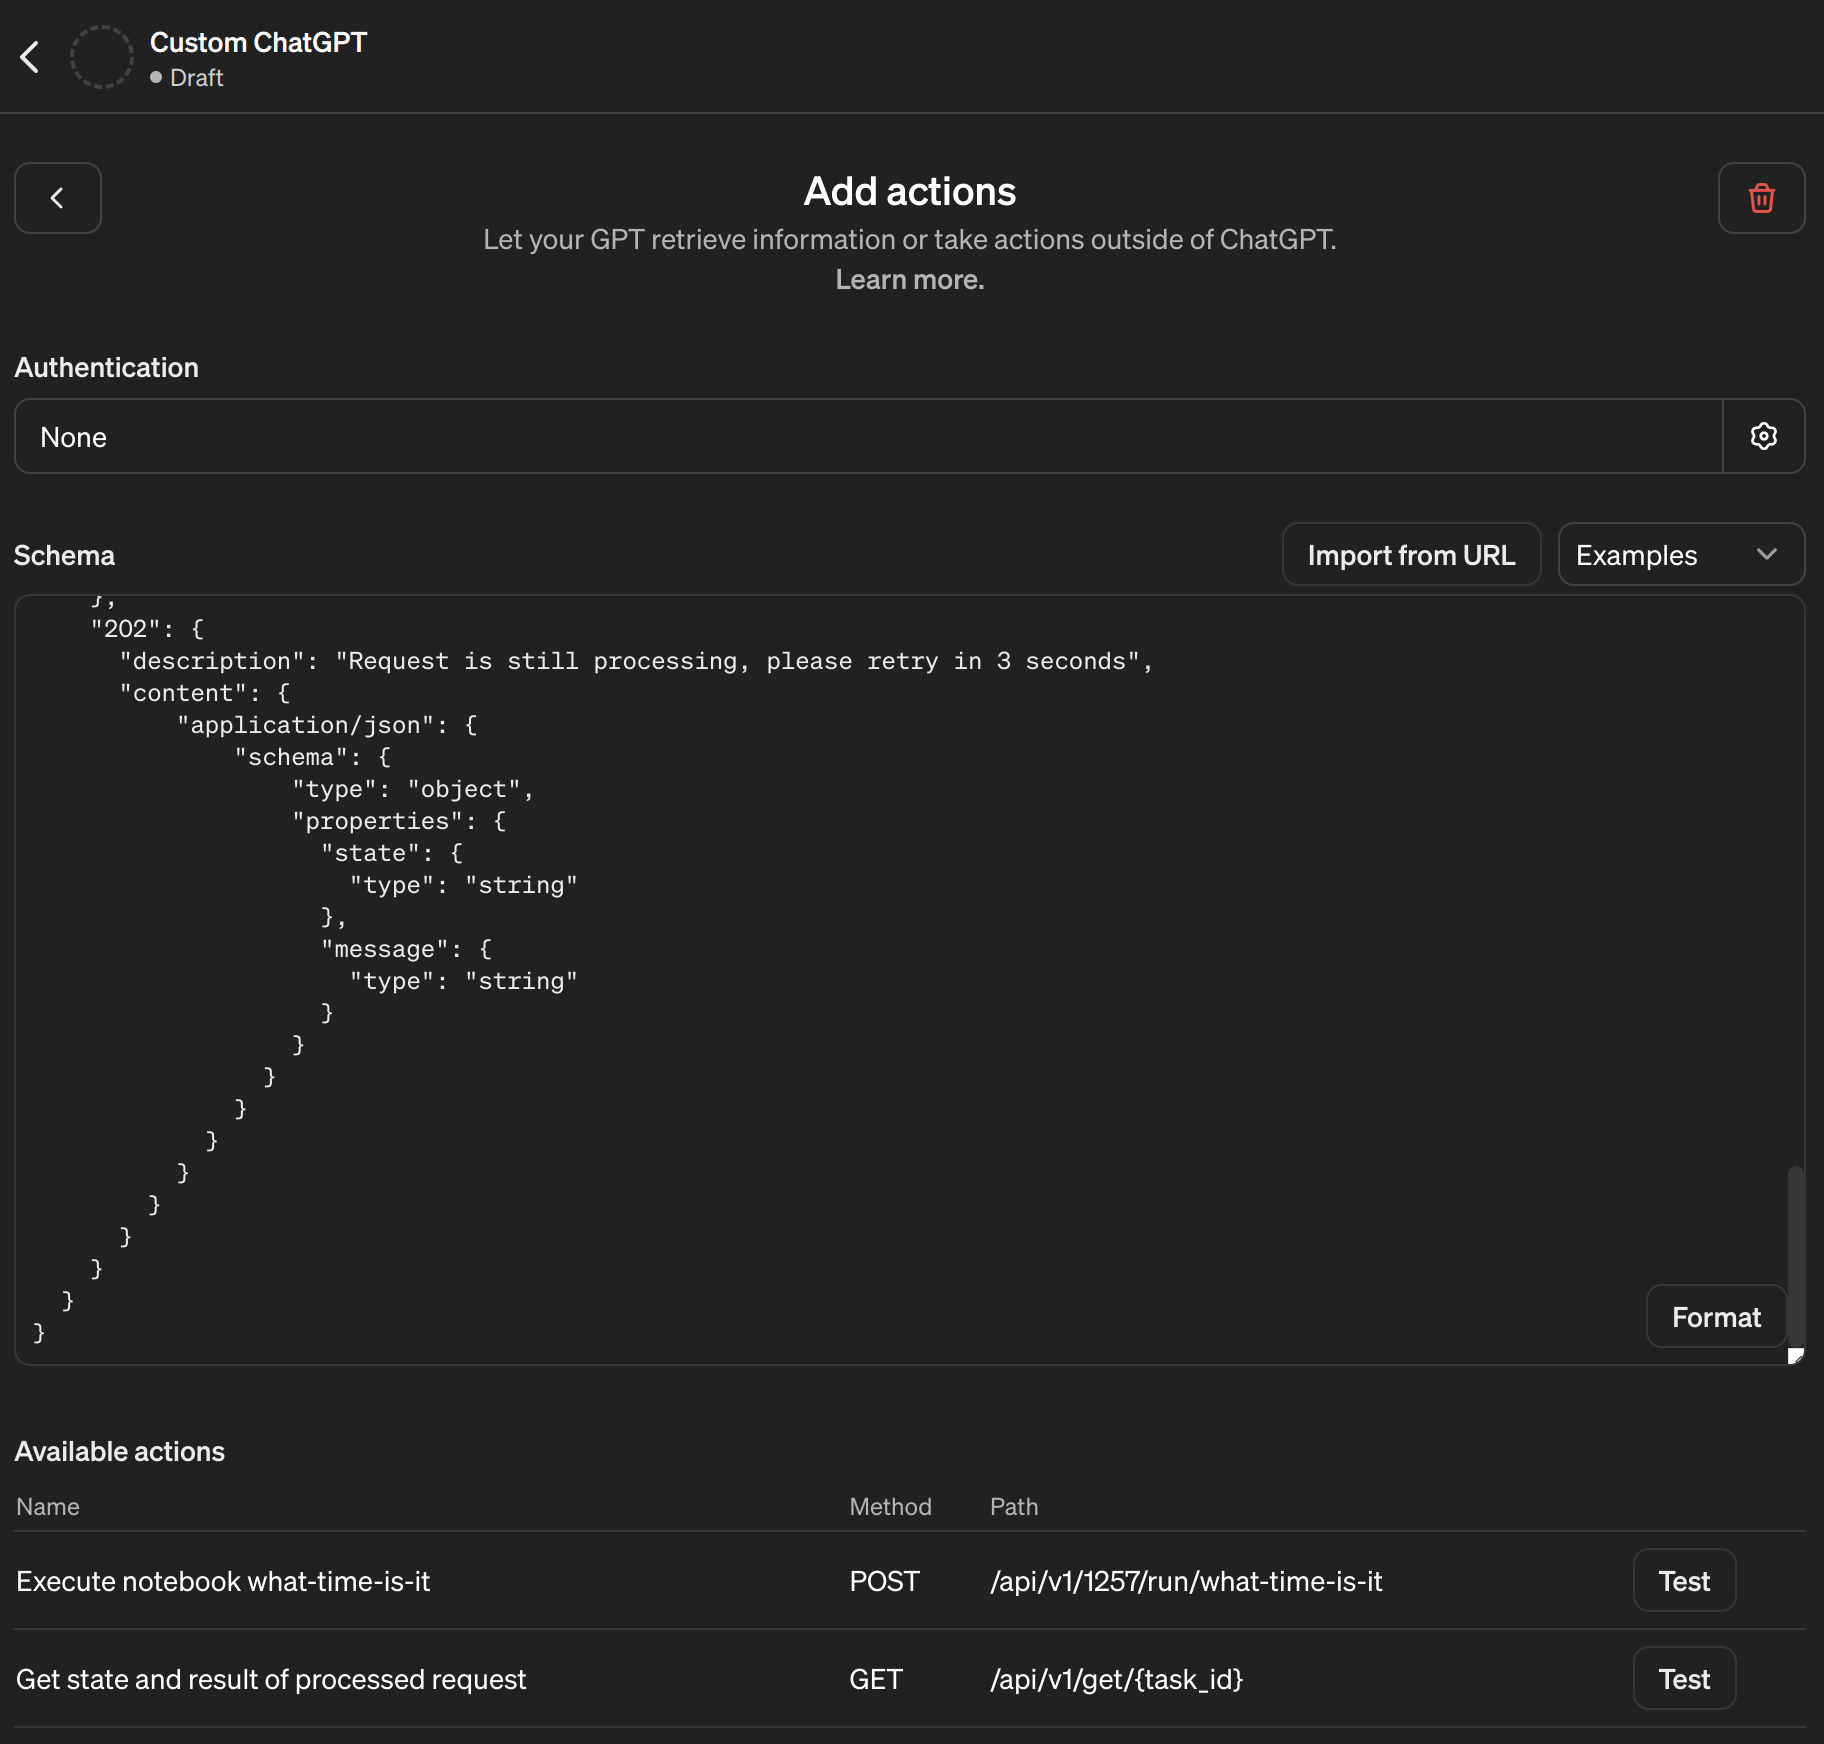
After pasting OpenAPI schema you should see available actions.
You can just ask Chat GPT for the time.
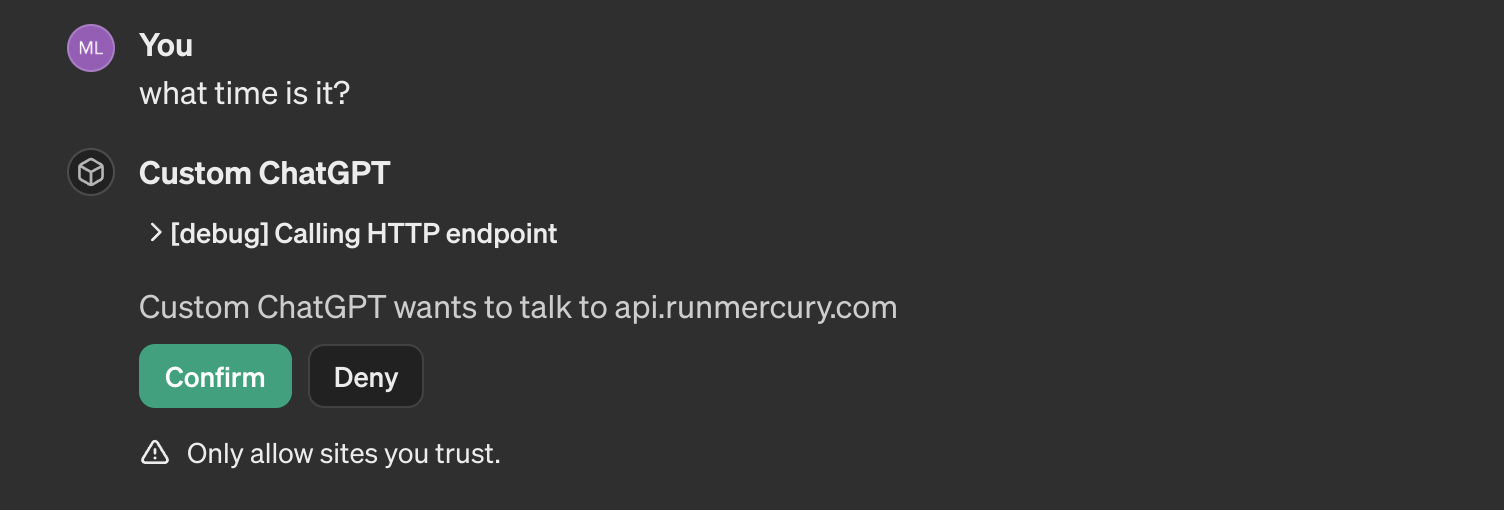
Please confirm the request to the service. The full action will have request sent and long polling to receive final response:
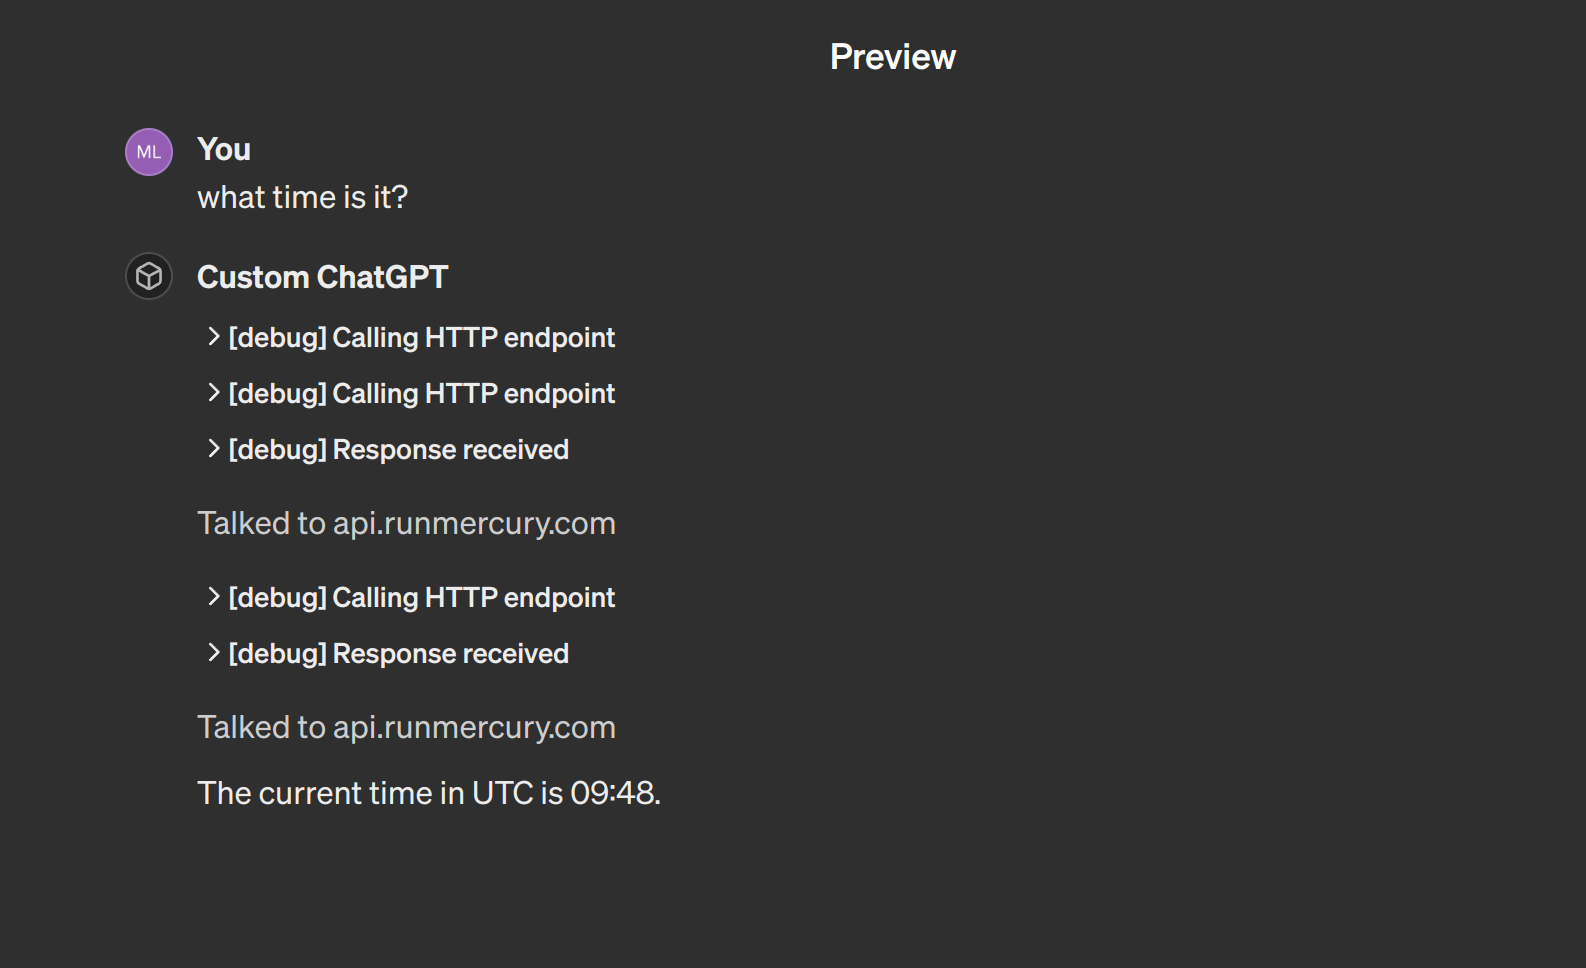
Summary
You can easily create custom action in Python and use it in GPT builder. Thanks to Mercury, you can deploy notebook as web app and execute them with REST API. Combination of Python and Mercury makes them perfect for providing additional functions for ChatGPT.