Chatbot with Tool Calling
In this example, we build a chatbot that can do more than just generate text — it can use tools. Normally, a language model can only answer based on what it already knows. It cannot check the weather, look up fresh data, or run your code. Tool calling changes that. It allows the model to decide that it needs outside information, ask your program to run a function, receive the result, and then use that result to produce a better, more accurate answer. This makes the chatbot feel less like a text generator and more like a real assistant that can interact with the world around it. In this tutorial, you will learn how to build this step by step using Ollama, Python, and Mercury, while also streaming the model’s thinking and final response in real time.
📓 Full notebook code is in our GitHub repository.

What You Will Learn
Section titled “What You Will Learn”In this guide you will learn how to:
- Stream AI responses word by word
- Stream the model’s thinking separately
- Let the model use tools
- Build a simple chat interface
- Turn everything into a web app
1. Install and Run Ollama
Section titled “1. Install and Run Ollama”Install Ollama using the official guide: docs.ollama.com/quickstart
We use GPT-OSS 20B.
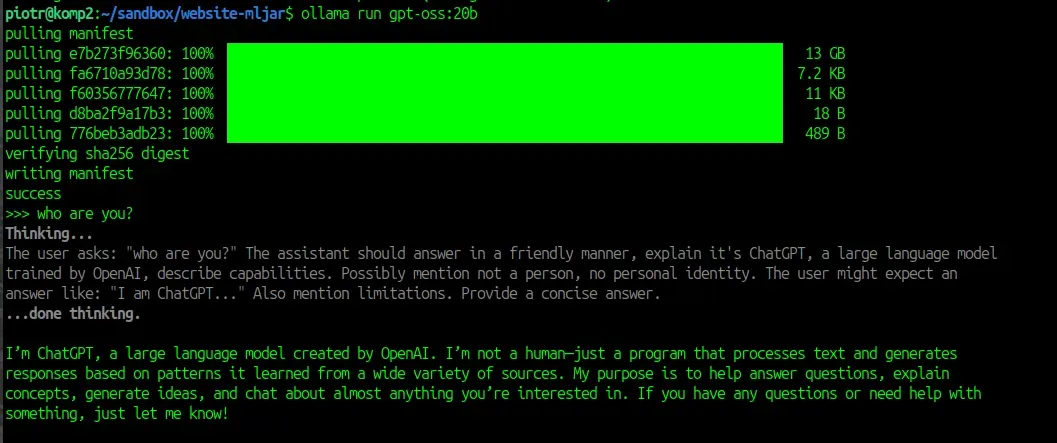
Download and start the model:
ollama run gpt-oss:20bAfter download, the model runs locally on your machine and you can use it in terminal. But let’s move further!
2. Install Python Packages
Section titled “2. Install Python Packages”We need two packages:
ollama— to talk to the modelmercury— to build the chat app
Both packages are open source and easy to install:
pip install ollama mercuryImport them in the first code cell:
import ollamaimport mercury as mrWe are ready to code more :)
3. Create a Tool the Model Can Use
Section titled “3. Create a Tool the Model Can Use”We define a simple Python function. The model can call this like a tool.
def get_temperature(city: str) -> str: """Get the current temperature for a city""" temperatures = { 'New York': '22°C', 'London': '15°C' } return temperatures.get(city, 'Unknown')This function:
- Takes a city name
- Returns a temperature as string
4. Build the Chat Interface
Section titled “4. Build the Chat Interface”We will store our conversation in the list messages. It is used to provide context to local LLM model, without it model will not remember about dialog.
messages = []Let’s clreate a Chat widget for displaying messages in the next code cell:
chat = mr.Chat(placeholder="💬 Start conversation")User will provide prompts with ChatInput widget.
prompt = mr.ChatInput()Chat interface components:
chatshows messages on screenpromptis where the user types
5. Stream Thinking and Answer from the Model
Section titled “5. Stream Thinking and Answer from the Model”This is the main logic. It is called after every new prompt from user. This code cell is re-executed for every new input.
if prompt.value:    usr_msg = mr.Message(markdown=prompt.value, role="user")    chat.add(usr_msg)
    messages += [{'role': 'user', 'content': prompt.value}]
    stream = ollama.chat(        model='gpt-oss:20b',        messages=messages,        tools=[get_temperature],        stream=True,    )
    ai_msg = mr.Message(role="assistant", emoji="🤖")    chat.add(ai_msg)
    thinking, content = "", ""    tool_calls = []
    for chunk in stream:        if chunk.message.thinking:            if thinking == "":                ai_msg.append_markdown("**Thinking:** ")            thinking += chunk.message.thinking            ai_msg.append_markdown(chunk.message.thinking)
        elif chunk.message.content:            if content == "":                ai_msg.append_markdown("\n\n**Answer:** ")            content += chunk.message.content            ai_msg.append_markdown(chunk.message.content)
        elif chunk.message.tool_calls:            tool_calls.extend(chunk.message.tool_calls)
    messages += [{        'role': 'assistant',        'thinking': thinking,        'content': content,        'tool_calls': tool_calls    }]
What happens here?
-
User message is created and displayed in the
chat -
We call the model with streaming
-
We listen to chunks from the model
-
We separate:
- thinking
- final answer
- tool calls
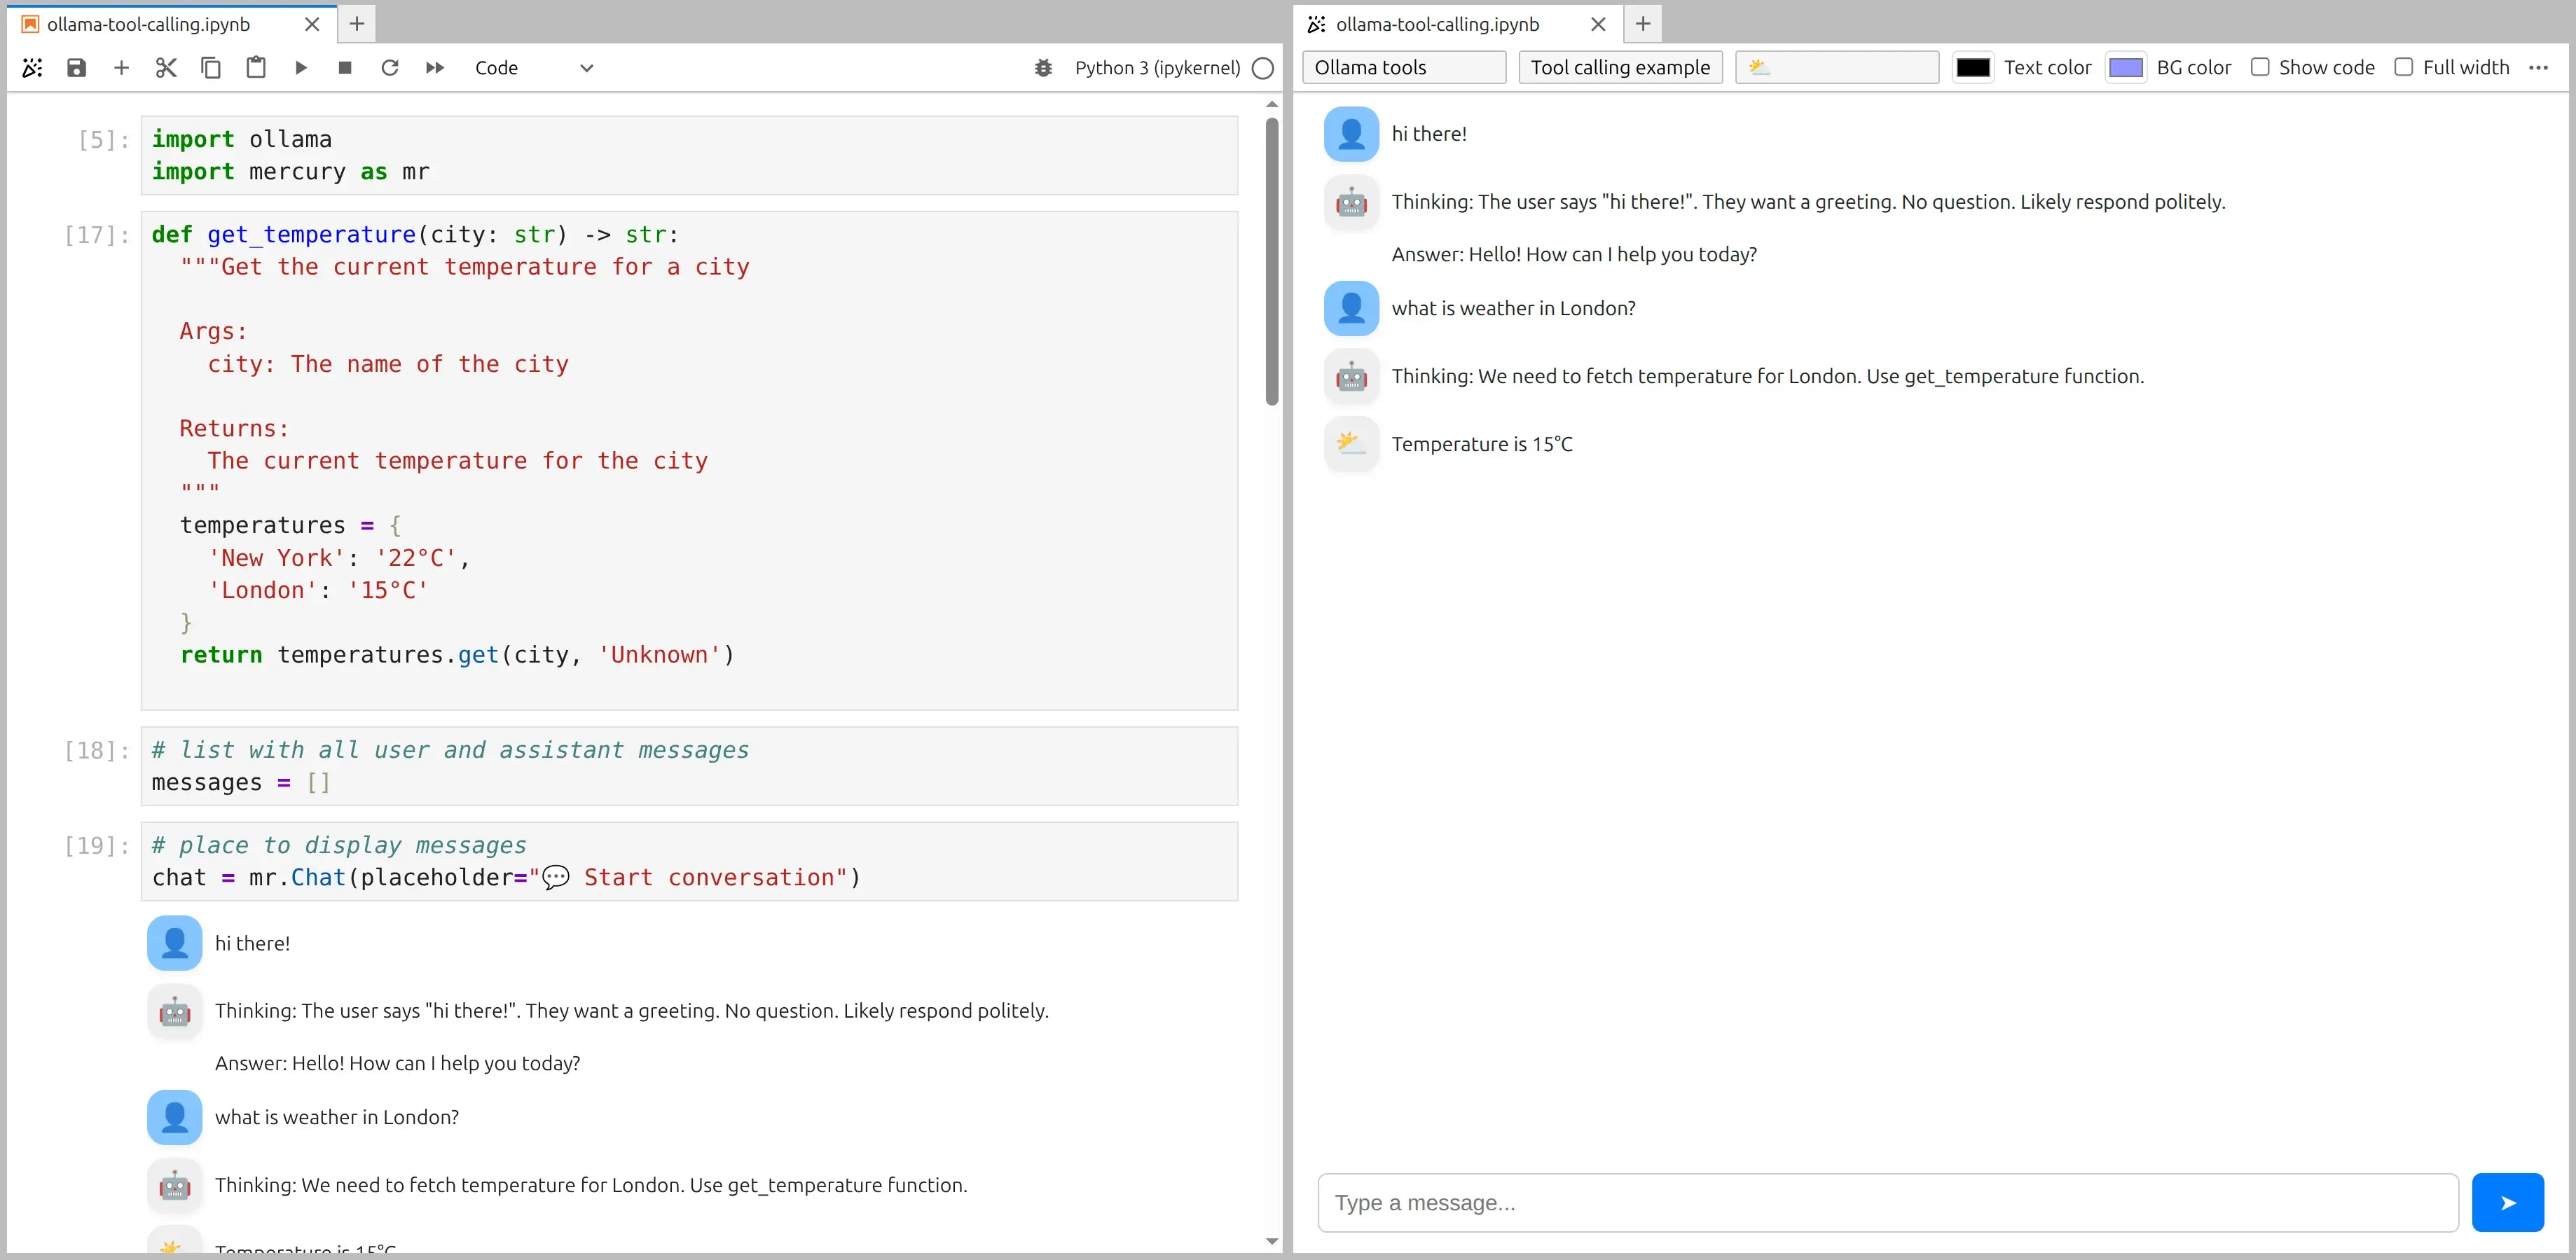
The screenshot of notebook and app preview:
6. 🔍 How the Last Code Piece Works (Tool Execution)
Section titled “6. 🔍 How the Last Code Piece Works (Tool Execution)”Let’s look closer how we handle tools the model asked to use.
for tool in tool_calls:    if tool.function.name == "get_temperature":        tool_msg = mr.Message(role="tool", emoji="⛅")        chat.add(tool_msg)
        result = get_temperature(**tool.function.arguments)        tool_msg.append_markdown("Temperature is " + result)
        messages += [{            "role": "tool",            "tool_name": "get_temperature",            "content": result        }]
Let’s break this down step by step:
1️⃣ Loop through tool calls
Section titled “1️⃣ Loop through tool calls”for tool in tool_calls:During streaming, the model may say:
“I want to call a tool.”
Those requests are stored in tool_calls.
Now we go through each one.
2️⃣ Check which tool the model wants
Section titled “2️⃣ Check which tool the model wants”if tool.function.name == "get_temperature":The model tells us the name of the function. We check if it matches our function.
3️⃣ Show tool message in the chat
Section titled “3️⃣ Show tool message in the chat”tool_msg = mr.Message(role="tool", emoji="⛅")chat.add(tool_msg)We create a message from the tool, so the user sees that a tool is being used.
4️⃣ Run the function in Python
Section titled “4️⃣ Run the function in Python”result = get_temperature(**tool.function.arguments)Very important part.
-
tool.function.argumentscontains data like:{"city": "London"} -
**tool.function.argumentsmeans: unpack arguments So this becomes:get_temperature(city="London")
Now Python runs the function and returns "15°C".
5️⃣ Show tool result
Section titled “5️⃣ Show tool result”tool_msg.append_markdown("Temperature is " + result)The user now sees:
Temperature is 15°C
6️⃣ Add tool result to conversation history
Section titled “6️⃣ Add tool result to conversation history”messages += [{ "role": "tool", "tool_name": "get_temperature", "content": result}]This is very important.
We tell the model:
👉 “The tool ran.” 👉 “Here is the result.”
Now the model can continue and use this information in its final answer.
Why This Pattern Is Powerful
Section titled “Why This Pattern Is Powerful”Normal chatbot:
User → Model → AnswerThis system:
User → Model Thinking → Tool Call → Tool Result → Final AnswerThis is the base for:
- AI agents
- Smart assistants
- Tool-using AI systems
Turn It Into a Web App
Section titled “Turn It Into a Web App”Running the notebook as web app is simple as starting a Mercury Server with command:
mercuryMercury will detect all *.ipynb files and serve them as web applications.
Summary
Section titled “Summary”Great job — you have just built a chatbot that behaves more like a real assistant than a simple text generator. Instead of only guessing answers from what the model already knows, your chatbot can decide to use a tool, run a Python function, and use the result to give a better and more accurate response. At the same time, users can watch how the model thinks and see the final answer appear step by step, which makes the whole system more transparent and easier to understand.
You also learned how to connect a local model running with Ollama to a Python application, how to pass conversation history, how tool calls are detected and executed, and how to show everything in an interactive interface using Mercury. By turning the notebook into a web app, you transformed a small code example into something people can actually use.
This pattern — model thinking, tool calling, tool result, and final answer — is the core idea behind modern AI assistants and agents. Once you understand this flow, you can connect models to databases, APIs, or your own business logic, and build systems that do real work, not just chat.